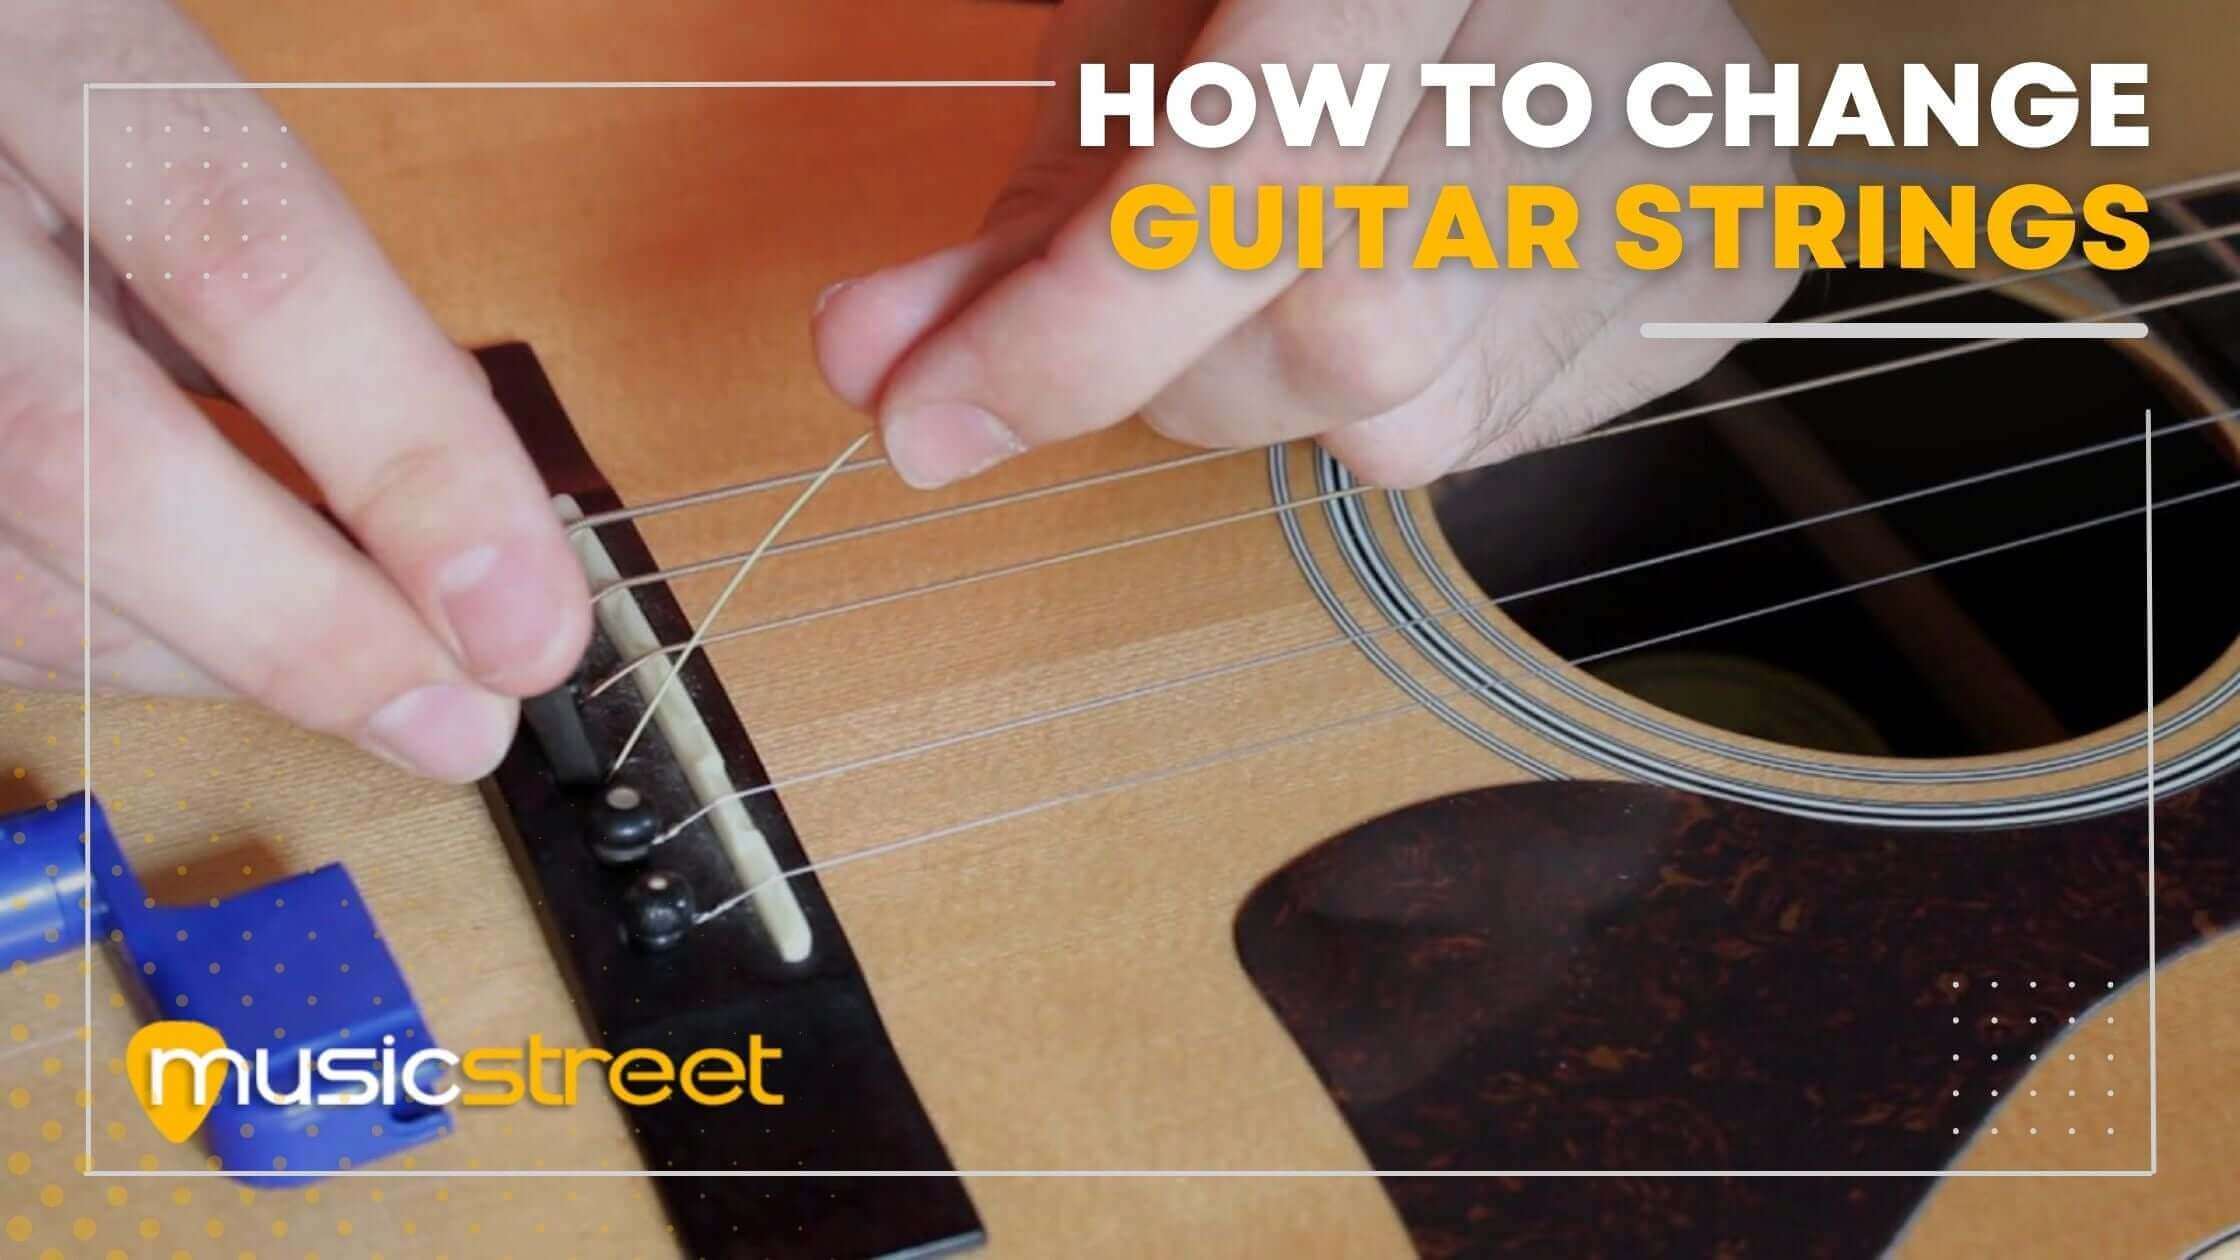
Changing guitar strings might seem like a daunting task, especially if you’re new to it, but it’s a skill every guitarist should master. Fresh strings bring out the best sound from your guitar, making your music brighter, clearer, and more resonant.
In this blog, we’ll walk you through each step of changing your guitar strings like a pro, from removing the old ones to fine-tuning your freshly strung guitar. Whether you play an electric or acoustic guitar, this guide will help you keep your instrument in top shape and ready to play, ensuring every note rings true.
Let's get your electric guitar sounding like new again!
Strep 1: Preparation
Getting ready to how to change guitar strings is easy and doesn't take much. Here's how to prepare your space and tools to make the process smooth and safe:
- Safety first: Make sure your guitar is on a stable, flat surface. A steady table or a desk is perfect to keep it from wobbling or falling.
- Tools at the ready: Gather these essential items so you have everything close by:
- A string winder: This makes winding the strings faster and easier.
- Wire cutters: You'll need these to trim the excess string ends.
- New electric guitar strings: Choose the right ones for your guitar's make and model.
With your guitar secure and your tools in place, you're all set to start the string-changing process.
Steps 2: Removing Old Strings
Ready to refresh your sound? The first step in how to change guitar strings is to remove the old ones from your electric guitar. It's an easy task that sets the stage for a richer tone. Here's how to do it smoothly:
- Loosening the Tension: Carefully loosen each string by turning the tuning pegs. This step is essential in how to restring an electric guitar because it prevents any sudden snaps. A string winder can make this task quicker.
- Disposal: Once the strings are loose, unhook them from both the pegs and the bridge. When replacing guitar strings, it's important to handle the old ones carefully to avoid getting poked by their sharp ends. Coil each string up and dispose of them properly to keep your area clean.
With these straightforward steps, you'll have your electric guitar ready for a new set of strings, ensuring it delivers the best sound possible.
Steps 3: Cleaning Your Guitar
Now that your electric guitar is string-free, you've got a prime opportunity to clean it up nicely. A clean guitar not only looks better but often plays better too. Here's how you can give your guitar a little TLC:
- Fretboard Care: Your fretboard accumulates a lot of dirt and oils from your fingers. Gently cleaning it with a soft cloth and a specialized guitar cleaner can make a big difference. Just apply a small amount and wipe away the grime.
- Body Polish: With the strings off, it's easy to give the body of your guitar a thorough clean. A lightly dampened cloth with some cleaner will do the trick. Be careful around the pickups and electronics.
- Recommended Products: For the best care, use products specifically designed for guitar maintenance. Musicstreet offers a selection of gentle cleaners that are perfect for keeping your electric guitar in top shape, ensuring no harm to its finish or electric guitar strings.
Steps 4: Stringing Your Guitar
Putting new electric guitar strings on your guitar is like giving it a fresh voice. It's a simple process that can make a big difference in how your guitar sounds and feels. Here’s how to get those new strings on just right:
- Threading the Strings: Start by taking your new guitar strings and threading each one through the corresponding hole in the bridge of your electric guitar. Make sure to follow the string order on a guitar to keep the tones right. For Fender guitar strings or any other brand, the thinnest string (high E) goes first, followed by the rest in ascending order of thickness.
- The Art of Winding: Once the string is through the bridge, pull it taut to the tuning peg and start winding. If you're wondering how to string a guitar string, the key is to wind the string around the peg in neat, tight coils. This is crucial forhow to change guitar strings for stability and tuning accuracy. Hold the string tight and wind, making sure each coil is below the last.
By following these steps for how to change electric guitar strings, you’ll ensure your guitar is ready to play with a fresh set of strings. Remember, the right strings for electric guitar can make all the difference in your playing experience.
Steps 5: Tuning up
Now that you've got your new electric guitar strings on, it's time to bring them to life with the right tune. Tuning up is an important step to make sure your guitar sounds just the way it should. Here's how to get those strings sounding perfect:
- Initial Tuning: Grab your tuner and start with the low E string, working your way through the string order on a guitar. If you're new to how to replace electric guitar strings, a tuner app or a clip-on tuner can be a big help. Turn the tuning pegs gently until each string is at the correct pitch.
- Stretching Strings: This might sound odd, but stretching your strings is key to keeping your guitar in tune. Gently pull each string away from the fretboard, then retune. This helps the strings settle in, which is especially important if you're learning how to change a string on an electric guitar for the first time.
Final Adjustments
You're almost ready to play your newly strung electric guitar. But first, a couple of key adjustments will ensure your guitar is comfortable to play and sounding its best. Here's how to fine-tune your setup:
- Checking the Action: Take a moment to check the height of your electric guitar strings above the fretboard. Proper action means your strings are neither too high, which makes playing tough, nor too low, where you'd hear unwanted buzzing. Adjusting the action ensures your guitar is as comfortable to play as possible.
- Fine-Tuning: New guitar strings often stretch a bit after you first put them on, which can make them go out of tune. Use your tuner to check each string again, making any necessary adjustments. It's not uncommon to retune a few times until the strings fully settle.
Maintenance Tips
Keeping your electric guitar in top shape goes beyond just changing guitar strings. Regular maintenance can extend the life of your strings and ensure your guitar always sounds its best. Here are some straightforward tips:
- Regular Cleaning: Keep your strings clean to maintain their brightness and longevity. After playing, wipe down your electric guitar strings with a soft, dry cloth to remove oils and dirt. For a deeper clean, use a string cleaner occasionally to keep them sounding fresh.
- When to Change Strings: Knowing how to replace electric guitar strings at the right time is key. Look out for signs like a dull sound, difficulty tuning, or visible wear and discoloration. Regular players might change strings every 3 to 4 months, but it can vary based on how often you play.
- Periodic Check-ups: Just like any valued instrument, your electric guitar might need a professional setup occasionally. This includes checking the string order on a guitar, action, intonation, and electronics. It ensures everything is in perfect working order.
By following these simple maintenance tips, you can keep your electric guitar sounding great and feeling new, making every strum a pleasure.
Understanding Different Types of Guitar Strings
Choosing the right type of strings is crucial for achieving the desired tone and playability of your guitar. Different types of strings can affect the sound, feel, and even the longevity of your strings.
Types of Strings
- Nickel-Plated Steel Strings: These are the most common strings for electric guitars, offering a balanced tone with a bright, clear sound. They are versatile and suitable for most playing styles.
- Stainless Steel Strings: These strings are corrosion-resistant and produce a brighter, crisper sound. They are ideal for players who need a more durable string or play in environments where strings might corrode faster.
- Pure Nickel Strings: Provide a warmer, vintage tone, perfect for blues, jazz, and classic rock styles. They offer less brightness but have a smooth, mellow sound.
Preparing for the String Change
Proper preparation makes the string-changing process smoother and prevents potential issues.
Create a Safe and Clean Workspace
- Use a Soft Surface: Place your guitar on a padded surface or a guitar mat to protect it from scratches and damage.
- Gather Your Tools: Ensure you have all the necessary tools, including a string winder, wire cutters, a tuner, and a polishing cloth. This minimizes interruptions during the process.
Advanced Techniques for Stringing Your Guitar
While stringing a guitar might seem straightforward, a few advanced techniques can make a big difference in stability and tuning.
Locking Method for Tuning Stability
- Thread and Lock: After threading the string through the tuning peg, pull it tight and make a simple knot by looping the string under itself. This method prevents slippage and keeps the string tight.
- Wrap with Precision: Wind the string around the tuning post carefully, ensuring that each wrap is neat and below the previous one. This keeps the tension even and reduces tuning issues.
Adjusting the Action After String Change
After changing strings, you might notice changes in the guitar's playability. Adjusting the action can help maintain comfort and prevent issues like buzzing.
Steps to Adjust the Action
- Check String Height: Measure the string height above the 12th fret to ensure it is at a comfortable level for playing. If it feels too high or too low, adjustments may be needed.
- Bridge Adjustment: Use a screwdriver or the appropriate tool to raise or lower the bridge saddles on an electric guitar. For acoustic guitars, you may need to adjust the truss rod or file down the saddle.
Intonation and Tuning Stability
Changing strings can affect the guitar’s intonation, which is how in-tune the guitar is along the entire neck.
Checking and Adjusting Intonation
- Tune the Guitar: First, make sure the guitar is in tune. Play the open string and then the 12th fret harmonic. If they are not in tune, adjust the saddle position.
- Adjust the Saddles: For electric guitars, move the saddle forward or backward until the open string and 12th fret harmonic are in tune. This ensures accurate pitch across the fretboard.
Choosing the Right String Gauge
The thickness or gauge of your strings can significantly impact your guitar's playability and tone.
Benefits of Different String Gauges
- Light Gauge Strings (0.008 - 0.010): Easier to bend and play, making them ideal for beginners or players who prefer a lighter touch.
- Medium Gauge Strings (0.011 - 0.012): Offer a balance between playability and tone, providing a fuller sound without being too hard to play.
- Heavy Gauge Strings (0.013 and above): Produce a richer, deeper tone with more sustain, suitable for drop tunings or aggressive playing styles. They require more finger strength and may be harder to bend.
Proper Care After Changing Strings
Taking care of your new strings ensures they last longer and maintain their tone.
Tips for Prolonging String Life
- Wipe Down Strings After Playing: Use a soft cloth to remove sweat and oils after each session. This prevents corrosion and extends the life of your strings.
- Use a String Cleaner: Occasionally apply a string cleaner to remove dirt and residue that can dull the sound.
- Store in a Controlled Environment: Keep your guitar in a case when not in use to protect it from temperature changes and humidity, which can affect both the guitar and the strings.
Conclusion
By learning how to change your guitar strings, you’re taking an important step toward becoming a more independent and skilled guitarist. Not only will you save time and money, but you’ll also gain a deeper connection with your instrument and its sound. Remember, regular string changes and proper maintenance are key to keeping your guitar sounding its best. So grab your tools, follow these easy steps, and enjoy the satisfying sound of fresh strings that bring your music to life!
Remember, each step you take in caring for your guitar not only enhances its sound but also deepens your connection with your music. So, keep practicing, keep playing, and let each chord and note be a reflection of your passion and dedication. Your musical journey is boundless, and every string change is a step toward mastering the beautiful craft of making music.
At MusicStreet, we provide everything you need to keep your guitar in perfect condition, from high-quality strings and tools to expert advice. Whether you're a beginner or a seasoned pro, our team is here to help you get the most out of your instrument. Visit us today and find the right gear to make every note sound its best!
Frequently Asked Questions
1. Why do my new strings sound a bit off?
When you first put new strings on your guitar, they might sound a bit bright or tinny. Not to worry, mate. They just need a bit of time to "break in." Give them a good stretch and play for a bit; they'll soon settle in and sound smashing.
2. How often should I change my guitar strings?
This one depends on how much you play. If you're strumming every day, you might want to change them every month or so. If you're more of a casual player, every 3 to 4 months could be just the ticket. Keep an ear out for when they start sounding a bit dull or lose their tune easily.
3. What do I do if a string keeps breaking?
If you've got a string that's a serial breaker, check the guitar for any sharp edges around the bridge or tuning pegs. These little blighters can cut into your string. Sometimes, just smoothing these spots with a bit of fine sandpaper does the trick.
4. How can I make my strings last longer?
Keep your hands clean before playing, and give the strings a good wipe down with a soft, dry cloth after each session. You'd be surprised how much a bit of grime and sweat can affect them.
5. Can I change just one string, or do I need to replace them all?
You can change just the one if you're in a pinch, but it's like having one new tyre on a car – it'll do the job, but it's best to change the whole set to keep things balanced.
6. Why do my strings feel harder to press down after changing them?
If your new strings are a different type or gauge (that's the thickness of the string), they might feel a bit different under your fingers. If they're thicker, they can be a bit tougher to press down. Give it some time; your fingers will adjust.
7. What should I do if my guitar starts buzzing after I change the strings?
A bit of buzzing could mean your strings are sitting too low. This might settle after the strings are properly stretched and tuned, but if it keeps up, you might need to adjust the action (the height of the strings above the fretboard). If it's a real bother, a local guitar shop can sort it out for you.


Share:
Best & Easy Guitar Riffs Of All Time
what really makes the ultimate guitar?