
Most guitar owners are surprised to learn that regular maintenance can extend their instrument’s lifespan by up to 50 percent. Keeping your guitar clean and well-maintained not only preserves its sound quality but also protects your investment. By learning the right steps for cleaning and caring for your guitar, you can avoid costly repairs and enjoy playing with confidence every time you pick it up.
Table of Contents
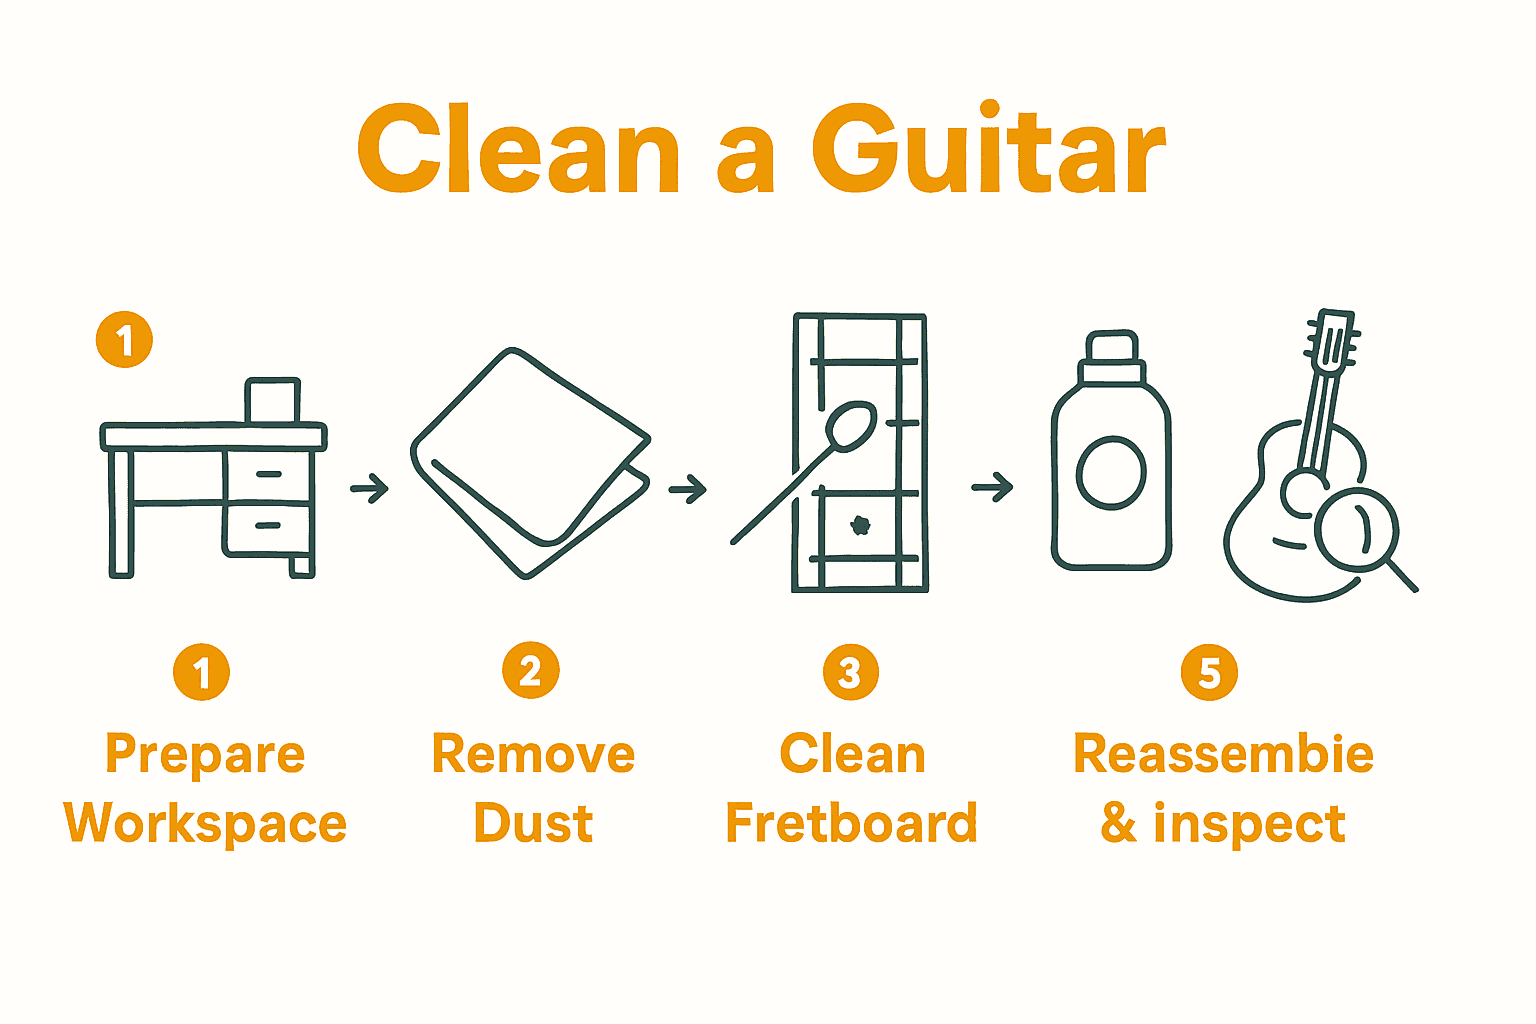
- Step 1: Prepare Your Guitar And Workspace
- Step 2: Remove Dust And Debris Safely
- Step 3: Clean The Fretboard And Hardware
- Step 4: Polish The Guitar Body And Neck
- Step 5: Reassemble And Inspect Your Guitar
Quick Summary
| Key Point | Explanation |
|---|---|
| 1. Prepare your workspace carefully | Set up in a clean, well-lit area to ensure safe and effective guitar cleaning. Use a stable surface and protective layers. |
| 2. Use gentle cleaning techniques | Employ a soft microfiber cloth and light movements to avoid damaging the guitar’s finish while removing dust and debris. |
| 3. Clean the fretboard and hardware | Remove strings for full access and use cotton swabs for intricate areas. Minimal moisture is crucial to prevent damage. |
| 4. Polish with guitar-safe products | Apply polish sparingly with a soft cloth to enhance appearance and protect the surface; avoid contact with components like strings. |
| 5. Inspect thoroughly after reassembly | After restringing, check all hardware and the neck for irregularities to maintain the guitar’s performance and condition. |
Step 1: Prepare Your Guitar and Workspace
Before diving into cleaning your guitar, setting up the right workspace is crucial for a successful and safe maintenance session. According to nashville.mi.edu, you will want to select a well-lit area with a stable surface to ensure precision and protect your instrument.
Start by gathering all the essential cleaning supplies you will need. This includes a soft microfiber cloth, guitar-safe cleaning solution, and a small soft-bristle brush. Choose a clean, flat surface like a sturdy table where you can comfortably spread out your materials and have enough room to manoeuvre around your guitar. Lay down a soft clean towel or cloth as an additional protective layer to prevent any accidental scratches or dings while you work.
A quick pro tip: make sure your workspace is free from dust, food, or other potential contaminants that could interfere with your cleaning process. Keep your cleaning solutions and tools within easy reach, but away from the edge of your work surface to prevent accidental spills or drops. Quick and Easy Tips to Keep Your Guitar in Top Condition recommends creating a calm, organised environment before starting any guitar maintenance work.
With your workspace prepared, you are now ready to begin the detailed cleaning process that will help maintain your guitar’s pristine condition and professional appearance.
Step 2: Remove Dust and Debris Safely
Now that your workspace is prepared, it is time to start the delicate process of removing dust and debris from your guitar. According to nashville.mi.edu, the key is to use a soft microfiber cloth to gently wipe down the guitar body while removing dust and fingerprints.
Begin by holding the microfiber cloth loosely and making gentle sweeping motions across the guitar’s surface. Start from the top of the instrument and work your way down, ensuring you cover every visible area. For those tricky spots like around the bridge, neck joint, and fretboard edges where dust tends to accumulate, use a small soft-bristle brush. The soft bristles will help dislodge debris without risking scratches on your instrument’s delicate finish.
Warning: Always use light, controlled movements when cleaning. Never apply excessive pressure or use abrasive materials that could potentially damage the guitar’s finish. Professional Guitar Setups emphasises the importance of gentle handling during maintenance to preserve your instrument’s quality.
With the dust and surface debris now carefully removed, you are ready to move on to the next stage of your guitar cleaning process.
Step 3: Clean the Fretboard and Hardware
Cleaning your guitar’s fretboard and hardware requires careful attention and precision. According to nashville.mi.edu, the first step is to remove the strings to gain full access to the fretboard and underlying components.
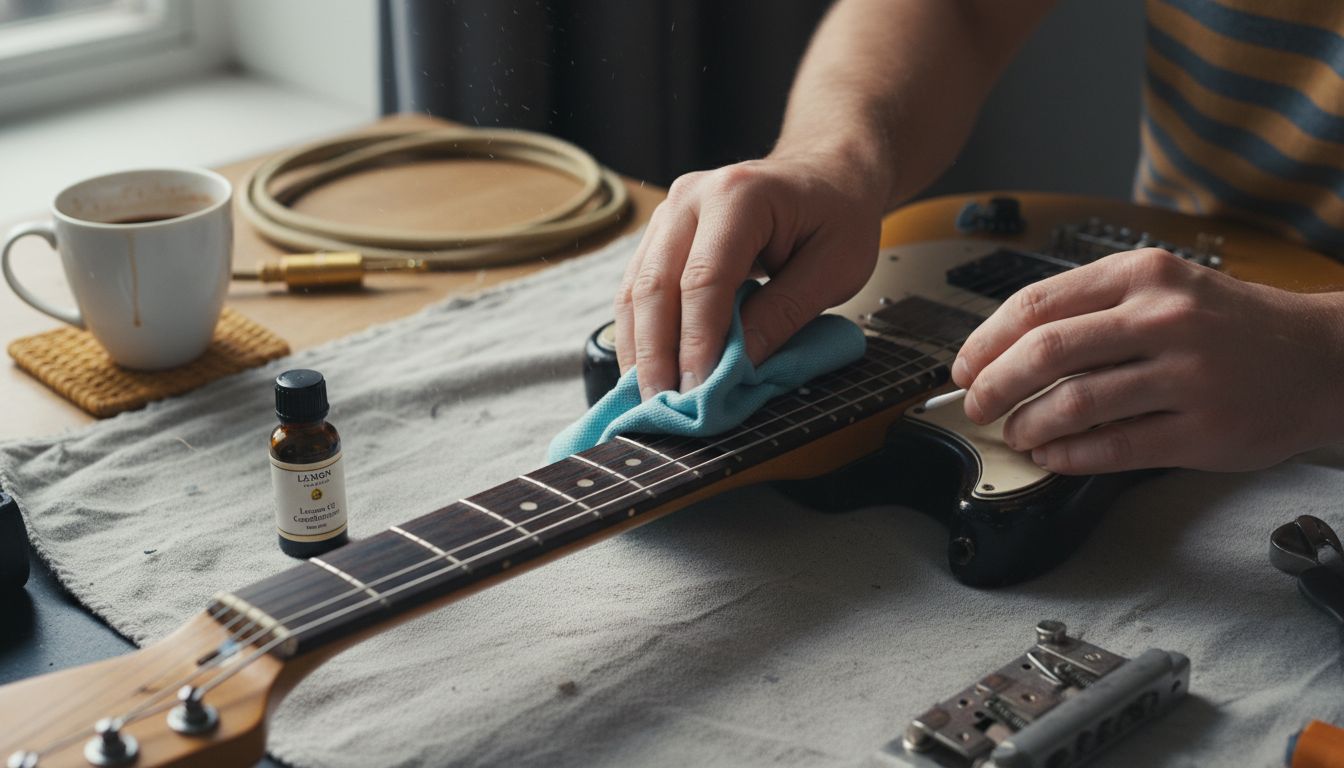
Begin by carefully removing the guitar strings and set them aside. Use a soft microfiber cloth to gently wipe down the fretboard, paying special attention to the areas between the frets where dirt and grime can accumulate. For unfinished rosewood or ebony fretboards, you might want to apply a small amount of lemon oil to condition the wood and prevent it from drying out. When addressing the hardware components such as tuning pegs, bridge, and pickups, employ cotton swabs to reach those intricate areas and remove dust and buildup. Why Your Guitar Strings Get Dirty suggests that regular cleaning helps prevent corrosion and maintains your instrument’s overall performance.
Warning: Always use minimal moisture when cleaning hardware to prevent potential rust or electrical component damage. Ensure your cloth is barely damp, not wet, and dry the components immediately after cleaning. With the fretboard and hardware now thoroughly cleaned, you are prepared for the next stage of guitar maintenance.
Step 4: Polish the Guitar Body and Neck
After thoroughly cleaning your guitar, the final touch is polishing the body and neck to restore its professional shine and protect its finish. According to nashville.mi.edu, the key is to use a guitar-safe polish applied with a soft cloth to enhance the instrument’s appearance and protect its surface.
Begin by selecting a high-quality guitar polish specifically designed for your instrument’s finish. Spray a small amount of polish onto a soft microfiber cloth rather than directly onto the guitar to prevent oversaturation. Gently work the polish into the body using circular motions, starting from the top and moving systematically across the surface. Pay extra attention to areas that tend to show wear, such as around the pickguard and near the bridge. Buff the polish with a clean, dry section of the cloth until you achieve a smooth, streak-free shine. When polishing the neck, use lighter, more controlled strokes to avoid building up excess product in the wood grain. Detailed Guide to Care for Your Yamaha Revstar Guitar emphasises the importance of using products specifically matched to your guitar’s finish type.
Warning: Less is more when it comes to guitar polish. Apply sparingly and avoid getting polish on electrical components, fretboard, or strings. A thin, even layer is all you need to protect and enhance your guitar’s appearance. With the polishing complete, your guitar now looks professionally maintained and ready to play.
Step 5: Reassemble and Inspect Your Guitar
With your guitar thoroughly cleaned and polished, the final step is to carefully reassemble the instrument and conduct a comprehensive inspection. According to nashville.mi.edu, you should replace the strings and tune the guitar while paying close attention to any potential issues that may have emerged during the cleaning process.
Begin by restringing your guitar with precision. How to Restring Guitar for Optimal Sound recommends carefully threading each string through its respective tuning peg, ensuring proper tension and alignment. As you reassemble the instrument, conduct a meticulous visual and tactile inspection. Check all hardware components such as tuning machines, bridge, and strap buttons to ensure they are tight and secure.
 Run your fingers along the neck to feel for any irregularities, and verify that the fretboard remains smooth and free from any residual cleaning products.
Warning: Take your time during reassembly. A rushed process can lead to improper string installation or missed structural concerns. If you notice any loose components, unusual wear, or potential damage during your inspection, consider consulting a professional guitar technician. Your careful attention now can prevent more significant issues down the line and ensure your instrument remains in peak playing condition.
Keep Your Guitar Spotless and Performance-Ready with MusicStreet.co.uk
Maintaining a spotless, professional finish on your guitar is more than just appearance. It preserves the instrument’s value and enhances your playing experience by preventing wear and tear on delicate parts like the fretboard and hardware. If you have struggled with finding the right cleaning products or need expert advice on guitar maintenance, MusicStreet.co.uk offers a carefully selected range of premium accessories designed to support every step of your cleaning routine. From guitar-safe polishes to quality microfiber cloths and essential tools, we understand the importance of gentle and precise care as highlighted in the step-by-step cleaning process.

Explore our collection at MusicStreet.co.uk today and equip yourself with everything needed to keep your guitar in top condition. Plus, benefit from our expert guidance on setups and repairs at our Huntingdon store, ensuring your instrument receives professional attention beyond cleaning. Don’t wait until wear becomes damage – visit MusicStreet.co.uk now to maintain your guitar’s pristine look and exceptional sound.
Frequently Asked Questions
How do I prepare my workspace for cleaning a guitar?
To prepare your workspace for cleaning a guitar, select a well-lit area with a stable, flat surface. Gather essential supplies like a microfiber cloth, guitar-safe cleaning solution, and a soft-bristle brush, and lay down a clean towel to protect your instrument.
What is the best method for removing dust and debris from my guitar?
The best method for removing dust and debris from your guitar is to use a soft microfiber cloth and make gentle sweeping motions across the surface. Start from the top and move downwards, and use a soft-bristle brush for tougher spots to avoid scratching the finish.
How do I clean the fretboard and hardware properly?
To clean the fretboard and hardware, begin by removing the strings to access the fretboard fully. Use a microfiber cloth to wipe down the fretboard, applying lemon oil for unfinished woods, and use cotton swabs to clean intricate hardware areas without getting excess moisture on components.
What steps should I follow to polish the guitar body and neck?
To polish the guitar body and neck, choose a guitar-safe polish and apply it to a microfiber cloth, not directly to the instrument. Use circular motions to distribute the polish evenly, focusing on areas that show wear, and buff it with a clean section of the cloth for a streak-free shine.
How can I ensure my guitar is properly reassembled after cleaning?
To ensure your guitar is properly reassembled, carefully restring it while checking all hardware for tightness and security. Conduct a thorough inspection for any irregularities, paying attention to the neck and fretboard to maintain optimal playing conditions.
What should I do if I notice damage during the inspection?
If you notice any damage during the inspection, such as loose components or unusual wear, take immediate action by consulting a professional guitar technician. Addressing these issues promptly can prevent further damage and ensure your guitar remains in top condition.


Share:
How to Value Your Guitar for Trade-In: Expert Tips 2025
What Is Guitar Scale Length? Complete Breakdown