


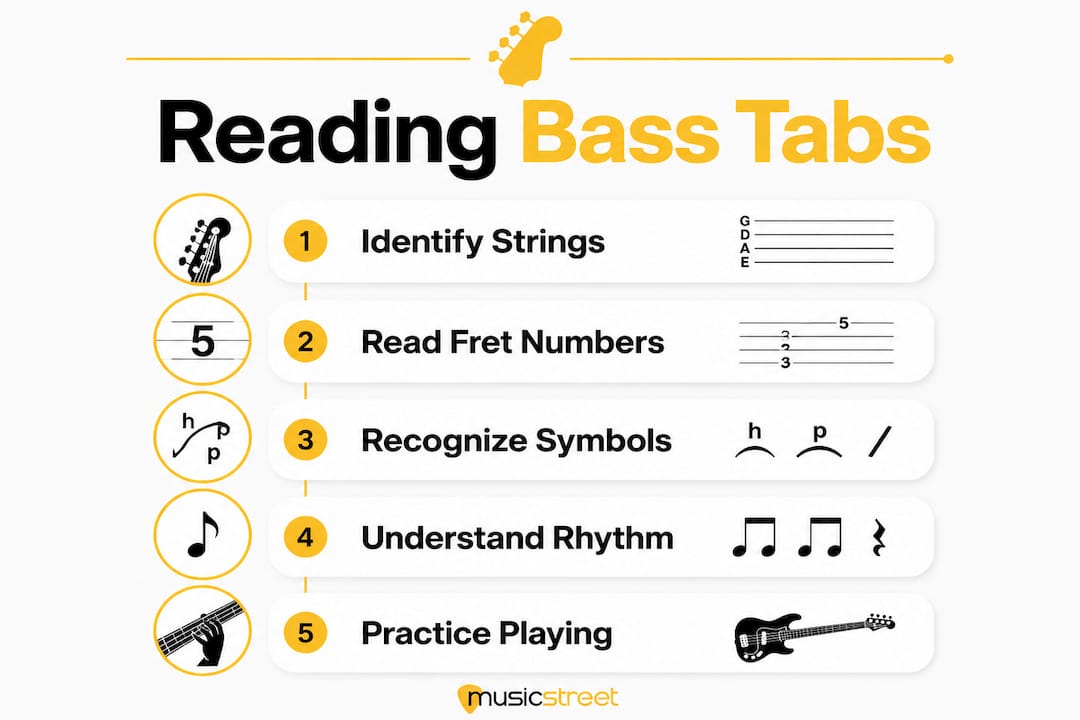
Bass guitar tablature, or “tab,” is a visual shorthand that tells you exactly where to put your fingers on the fretboard. Four horizontal lines represent the four strings; numbers on those lines tell you which fret to press. That is genuinely all the core logic you need. If you can count to twelve, you can start reading bass tabs within minutes, no music theory required.
Unlike standard notation, tab does not show pitch names or note durations. It shows finger placement, nothing more. That is both its greatest strength and its one real limitation, which this guide addresses head-on. You will find tab in virtually every online song lesson, beginner bass book, and transcription site, making it the de facto format for reading guitar tabs for beginners.
At a glance, every bass tab works like this:
- Four horizontal lines, one per string (G at the top, then D, A, E at the bottom)
- Numbers on a line tell you which fret to press on that string
- A zero means play the open string without pressing any fret
- Read numbers left to right in the order you play them
- Numbers stacked vertically are played simultaneously (a double-stop or chord)
- Vertical lines divide the tab into bars, just like in standard notation
Table of Contents
- How to read bass guitar tabs: strings and fret numbers explained
- How bars and spacing hint at rhythm in bass tabs
- Common bass tab symbols and what they mean
- Putting it all together: reading a full bass line
- Finger positioning and ergonomic tips for comfortable playing
- What bass tabs are and why they exist
- Ready to start playing? Find the right bass at Musicstreet
- Key takeaways
- FAQ
How to read bass guitar tabs: strings and fret numbers explained
The four lines in a bass tab correspond directly to your four strings. The top line is the G string, the thinnest and highest-pitched. Below it sits D, then A, and the bottom line is the low E, the thickest string. This trips up a lot of beginners because it looks upside down compared to how you might imagine the bass. The layout is drawn from the player’s perspective looking down at the neck, so the thickest string sits at the bottom, just as it does when you glance at your fretting hand.
Fret numbers in bass tab run from 0 (open string) up to however many frets your bass has, typically 20–24. A “3” on the A string line means press the third fret of the A string and pluck it. A “0” on any line means pluck that string without fretting anything.
Here is a simple example to make it concrete:
G |---------------------|
D |---------------------|
A |--0--2--3------------|
E |---------------------|
Play: open A string, second fret A, third fret A. Three notes, one after another, left to right.
| String | Line position | Standard tuning note | Pitch |
|---|---|---|---|
| G | Top | G | Highest |
| D | Second | D | Mid-high |
| A | Third | A | Mid-low |
| E | Bottom | E | Lowest |
Most tabs state the tuning at the very start, usually written as E-A-D-G from low to high. If a tab specifies a different tuning, such as Drop D (D-A-D-G), tune your bass accordingly before you start or the notes will not match the recording.
Pro Tip: Press each fret just behind the metal fret wire, not on top of it. That small adjustment gives you a cleaner tone with far less finger pressure.
How bars and spacing hint at rhythm in bass tabs
Bars in bass tab work the same way as in standard notation. A vertical line cuts across all four string lines to mark the end of one bar and the start of the next. The count resets to beat one after each barline.
Bass tabs rarely show exact rhythm or note durations on their own. What you get is the order of notes, not how long each one lasts. Spacing between numbers can suggest relative timing, but it is not precise or consistent across different tabs. A gap that looks wide might represent a half note in one tab and a quarter note in another.
Some tabs, particularly those created with software like Guitar Pro, include rhythmic notation written beneath the fret numbers. These are genuinely useful because they remove the guesswork entirely. For most free internet tabs, though, you will not find that level of detail.
Practical rhythm tips for beginners:
- Always listen to the original recording while following the tab, not after
- Use the recording to work out how long each note rings before the next one arrives
- Count along with the music out loud, even if just “1, 2, 3, 4” per bar
- A metronome helps once you know the rhythm; set it to a slow tempo and build up
- Treat the tab as a map of notes and the recording as the guide to timing
Watch out: The spacing between numbers in a tab is set by whoever typed it, not by musical value. Never assume two numbers close together mean they are played quickly, or that a gap means a rest. The recording is always the authority on timing.
Common bass tab symbols and what they mean
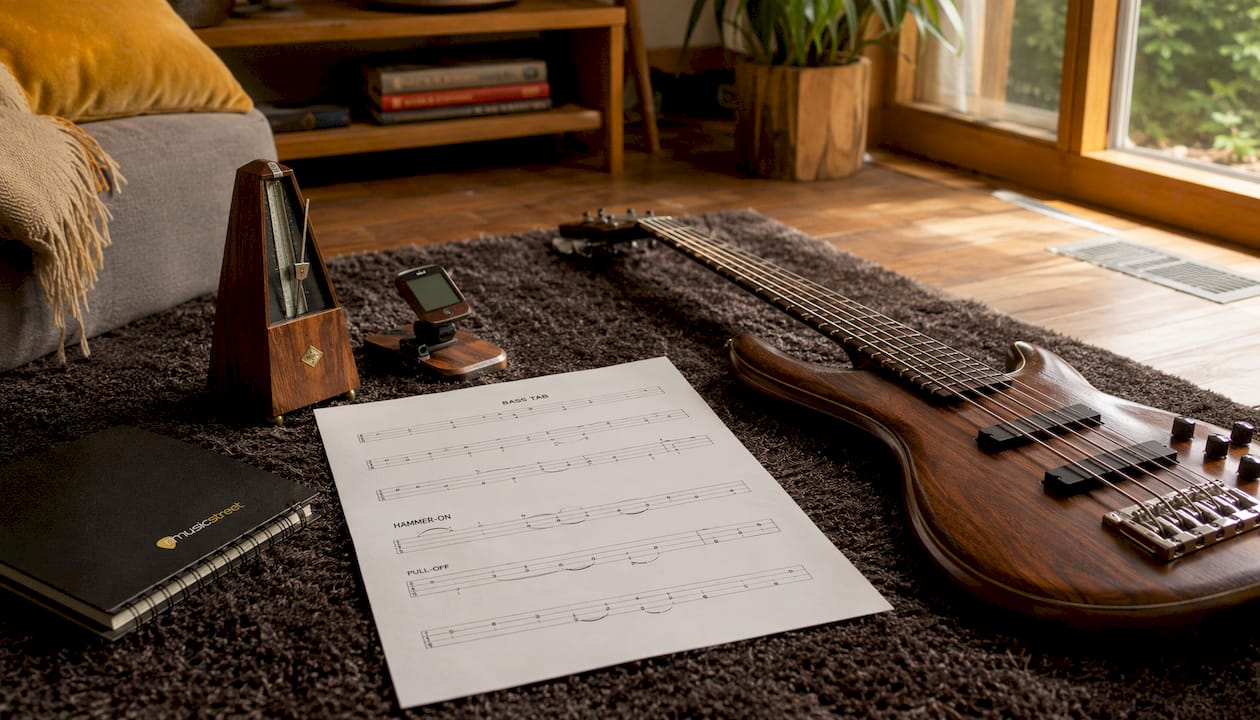
Once you are comfortable with fret numbers, the next layer is articulation symbols. These tell you how to play a note, not just where. Tab symbols are not fully standardised, so always check whether a tab includes a legend or key at the top before you start playing.
| Symbol | Technique | What you do |
|---|---|---|
| h | Hammer-on | Pluck the first note, then hammer a finger onto the higher fret without plucking again |
| p | Pull-off | Pluck the higher fret, then pull your finger off to let the lower note ring |
| / | Slide up | Play the first fret, keep pressure, and slide your finger up to the second |
| \ | Slide down | Same as above but sliding toward the nut |
| b | Bend | Push or pull the string sideways to raise the pitch |
| r | Release bend | Bend the note up, then release back to the original pitch |
| x | Dead/ghost note | Lay fingers lightly across the strings and pluck for a muted, percussive click |
| ~ | Vibrato | Rock the fretting finger back and forth rapidly while the note sustains |
| t | Tap | Strike the fret with a finger from your picking hand |
| T / P | Slap / Pop | T = thumb strike on string; P = hook a finger under the string and snap it |
The two symbols you will encounter most as a beginner are hammer-on (h) and pull-off (p). A tab showing 5h7 on the A string means pluck the fifth fret, then hammer your ring or little finger onto the seventh fret without plucking again. The second note sounds purely from the force of your finger landing. Pull-offs work in reverse: 7p5 means pluck the seventh fret, then pull your finger off with a slight sideways tug so the fifth fret rings out on its own.
Slides are written with forward or back slashes. 3/7 means pluck the third fret and slide up to the seventh while keeping string pressure. The slide itself is part of the sound, not a silent shift.
Pro Tip: When you see an “x” in a tab, use two or three fingers laid flat across the strings rather than one. A single finger tends to produce an unwanted harmonic instead of the clean percussive click you want.
Dead notes and ghost notes are closely related but distinct. A dead note (x) has no pitch at all. A ghost note, sometimes shown in parentheses like (5), is a half-muted, quieter version of the fretted note. Both add rhythmic texture to a bass line and are worth learning early.
Putting it all together: reading a full bass line
Reading a complete bass line means combining string identification, fret numbers, rhythm from the recording, and technique symbols all at once. Here is a short example that uses several elements together:
G |------------------------|
D |------------------------|
A |--0--0--2--3--5h7-------|
E |------------------3--0--|
Walk through it step by step. Start on the A string: open A, open A again, second fret A, third fret A, fifth fret A with a hammer-on up to the seventh fret. Then shift to the E string: third fret E, open E. Six distinct movements, one hammer-on, two strings.
How to approach a new tab:
- Read through the whole tab once without playing, just to see the shape of the line
- Identify any symbols you do not recognise and look them up before you start
- Listen to the recording and follow along with the tab, tapping the rhythm on your knee
- Play the line very slowly, one bar at a time, matching each note to what you hear
- Gradually increase speed only once each bar feels natural at the slower tempo
| Step | Focus | Goal |
|---|---|---|
| First read-through | Shape and symbols | Spot anything unfamiliar |
| Listening pass | Rhythm and feel | Lock in timing before playing |
| Slow practice | Accuracy | Clean notes, correct frets |
| Speed building | Fluency | Match the original tempo |
Tabs only show where to play notes, not when. The recording fills that gap. Treat them as two halves of the same instruction, and you will progress far faster than relying on either alone.
One more thing worth knowing: many online tabs contain errors. A note that sounds wrong almost certainly is wrong. Always play along with the original track and trust your ears over the tab when the two disagree. Learning to spot and correct tab mistakes is itself a useful ear-training exercise.
For ideas on what to play once you have the basics down, the Musicstreet guide to easy songs for beginners is a good starting point. And if you want to understand how bass lines are constructed beyond just reading them, how to make a bassline that stands out covers the creative side well.
Finger positioning and ergonomic tips for comfortable playing
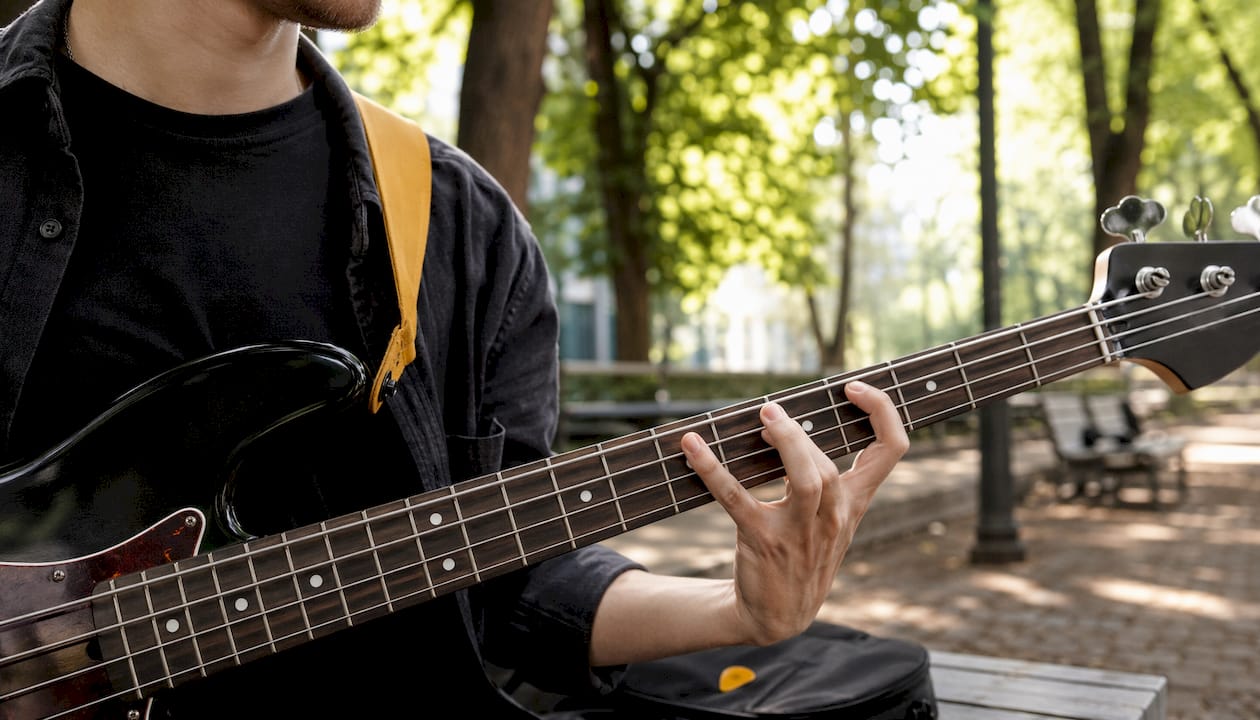
Good hand position makes tab reading practical rather than painful. The two main fretting approaches you will hear about are one-finger-per-fret and the three-fret contracted position, sometimes called the Simandl technique after the double bass pedagogue Franz Simandl.
One-finger-per-fret assigns each finger to a single fret across a four-fret span. It is efficient for fast, melodic lines and gives you maximum reach. The three-fret position groups the third and fourth fingers together, covering three frets with the index, middle, and combined ring-and-little-finger unit. This approach reduces hand strain considerably, particularly near the nut where the frets are widest apart and the string tension is highest.
Neither approach is universally correct. Many experienced players use one-finger-per-fret higher up the neck where frets are closer together, and switch to the three-fret position in the lower register. The goal is always a relaxed hand, not adherence to a rule.
Ergonomic tips to keep in mind:
- Keep your wrist relatively straight. Excessive inward bending puts pressure on tendons and leads to fatigue quickly
- Press strings with the pad of your fingertip, just behind the fret wire, using the minimum pressure needed for a clean note
- Let your thumb rest loosely on the back of the neck, roughly behind your middle finger
- When you are not using a finger, keep it close to the strings rather than letting it fly outward
- If anything hurts, stop. Pain is a signal, not something to push through
Finger independence improves with consistent, patient practice rather than with force. Spider exercises, where you move each finger independently across the strings in sequence, are a reliable way to build coordination gradually. Start slowly, keep the hand relaxed, and let the improvement come over weeks rather than days.
The Simandl technique originated on double bass, where the string length and tension make a full four-finger stretch impractical for most players. On electric bass the physics are different, but the ergonomic logic still holds for beginners with smaller hands or less finger independence. Try both approaches and let comfort guide the choice.
What bass tabs are and why they exist
Bass tablature is a notation system designed specifically for fretted instruments. Rather than representing sound as abstract symbols on a staff, it represents physical actions: which string, which fret, which technique. The result is a format that anyone can pick up and use within a short session, regardless of whether they have ever studied music formally.
Standard notation, by contrast, shows pitch, rhythm, dynamics, and phrasing with precision. It is a richer language, but it takes considerably longer to learn. Tab trades that completeness for immediacy. You lose rhythmic precision; you gain instant access to the notes of almost any song.
That trade-off is why tab dominates online learning. Virtually every transcription site, beginner lesson, and bass book uses it as the primary format. For a beginner whose goal is to play songs rather than pass a music theory exam, tab is the practical starting point. Standard notation is worth learning eventually, particularly if you want to read charts in a band context or study music formally, but it is not a prerequisite for playing bass well.
The key thing to carry forward is that tab is a tool, not a complete musical education. Using tabs alongside ear training produces better musicians than relying on tab alone. The tab tells you the notes; your ear tells you the feel.
Ready to start playing? Find the right bass at Musicstreet
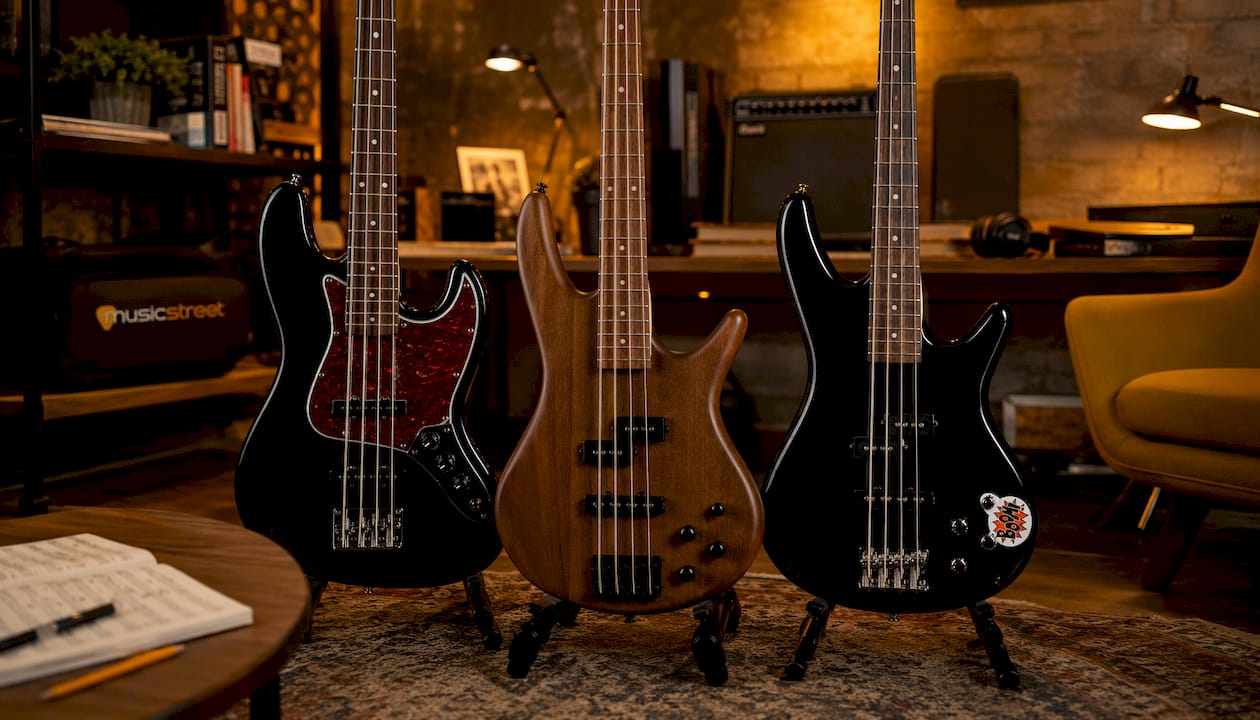
Reading tabs is only satisfying when you have a bass that responds well under your fingers. Musicstreet stocks a range of beginner-friendly instruments that make the learning process genuinely enjoyable rather than a battle against a poorly set-up guitar.
The Ibanez GSR200 in black is one of the most popular entry-level four-string basses available, with a slim neck profile that suits players still building hand strength and finger independence. If you prefer a warmer aesthetic, the Ibanez GSR200B in walnut flat offers the same playability with a striking finish. For something with a classic feel, the Aria STB JB/B with its tortoise scratch guard delivers a vintage-inspired tone that works beautifully for the kind of groove-based lines you will be reading in tabs from day one.
All three are available with free UK delivery and come with Musicstreet’s expert setup and post-sale support. Browse the full range of bass guitars for beginners to find the right fit for your playing style and budget.
Key takeaways
Bass tabs give you the notes and the techniques; the recording gives you the rhythm. Combine both from the start and you will progress faster than using either alone.
| Point | Details |
|---|---|
| Four lines, four strings | G sits at the top, E at the bottom; numbers show which fret to press on each string. |
| Zero means open string | A “0” on any line means pluck that string without pressing any fret. |
| Rhythm comes from listening | Tabs rarely show note durations; always follow the original recording for timing. |
| Symbols show technique | h, p, /, , b, x, and ~ indicate how to play a note, not just where. |
| Comfort beats rigid rules | Switch between one-finger-per-fret and the three-fret position based on what feels relaxed and pain-free. |
FAQ
What do the numbers mean on bass guitar tabs?
Each number tells you which fret to press on the string that number sits on. A “5” on the A string line means press the fifth fret of the A string and pluck it; a “0” means play that string open with no fret pressed.
What is the three-fret rule on bass guitar?
The three-fret rule, also known as the Simandl technique, groups the ring and little fingers together so you cover three frets with three finger units rather than four. It reduces hand strain and is particularly useful near the nut where the frets are furthest apart.
What is the best app for reading bass tabs?
Guitar Pro is widely regarded as the most complete tab reading and playback tool, as it supports rhythmic notation and tempo control. Free tab sites also host large libraries of bass tabs, though accuracy varies and you should always verify against the original recording.
Do bass tabs show rhythm?
No. Standard bass tabs show which notes to play and on which fret, but not how long each note lasts. You need to listen to the recording alongside the tab to get the timing right, as explained in the rhythm section above.
How is bass tab different from standard notation?
Standard notation shows pitch, rhythm, dynamics, and phrasing precisely. Bass tab shows only finger placement and technique. Tab is faster to learn and read for beginners, but standard notation is more complete for advanced players working in formal or session contexts.


Share:
Church sound system for online streaming: the complete guide
What does FRFR mean for guitarists?