

- Room treatment and placement are more important than expensive gear for professional-sounding recordings.
- Microphone position and blending direct pickup with mic capture greatly affect tone quality.
- Experimentation and attention to detail can significantly improve home guitar recordings without high costs.
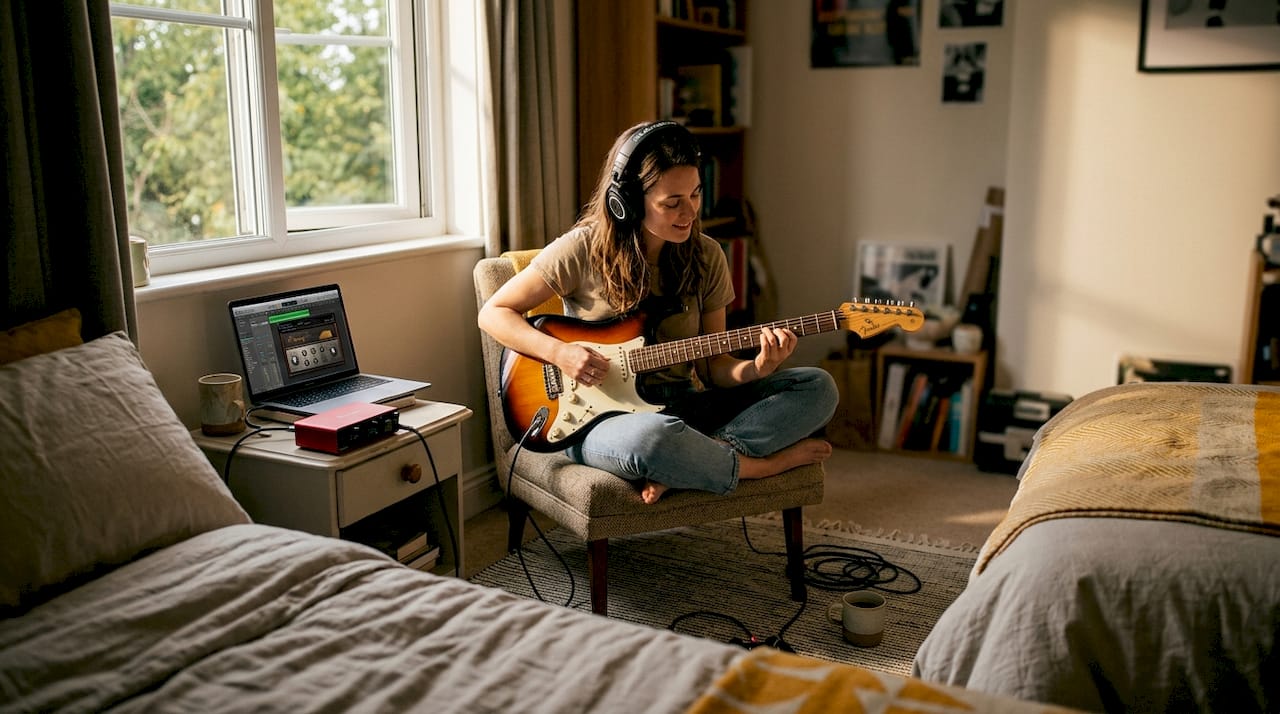
Recording guitar at home often sounds flat, boxy, or just plain disappointing the first time you try it. The gap between what you hear in your head and what comes back through the speakers can feel enormous. But here’s the truth: most of the difference between amateur and professional home recordings comes down to preparation, not price tags. Whether you’re plugging in an electric for the first time or trying to capture the warmth of an acoustic, this guide walks you through every stage, from treating your room and choosing gear to mic placement, mixing, and finishing touches.
Table of Contents
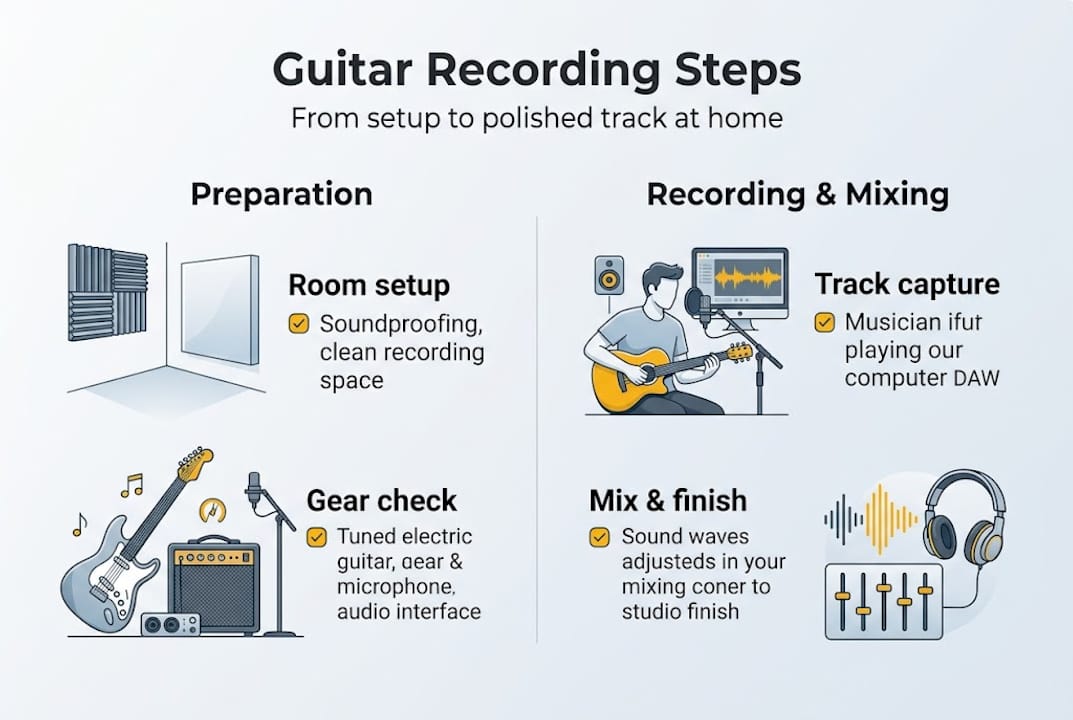
- Getting your space and gear ready
- Recording acoustic guitar: Techniques for clarity and warmth
- Recording electric guitar: Direct, amp sims and real amps
- Advanced approaches: Multi-miking, singing guitarists and creative tricks
- Mixing, editing and finishing your guitar tracks
- Why DIY guitar recording is more about space than expensive kit
- Ready to upgrade your home recordings?
- Frequently asked questions
Key Takeaways
| Point | Details |
|---|---|
| Transform your room first | Room treatment and a quiet setup will always improve your guitar recordings more than gear upgrades alone. |
| Simple kit, big results | A basic interface, DAW, and affordable microphone can deliver great sound when used correctly. |
| Experiment and trust your ears | Moving microphones and adjusting settings matters more than expensive equipment, so keep experimenting for best results. |
| Mixing makes the difference | Careful EQ and compression polish your sound and stop it from being lost in the mix. |
Getting your space and gear ready
Your recording environment shapes your sound more than almost any piece of kit you could buy. A £1,000 microphone in a bare, reflective room will sound worse than a £100 mic in a well-treated space. Start there.
Smaller rooms with lower ceilings actually work better for recording because they produce less low-frequency buildup. Add soft surfaces wherever you can: thick curtains, rugs, sofas, and bookshelves filled with books all break up reflections and reduce flutter echo. You don’t need to spend a penny on acoustic foam to make a real difference.
Once your room is sorted, you’ll need a core set of tools. Here’s what matters most:
- Audio interface: Connects your guitar and microphone to your computer. Look for at least two inputs for stereo recording and solid preamps.
- DAW (digital audio workstation): Software like GarageBand, Reaper, or Ableton Live where you record, edit, and mix.
- Microphone: A small or large diaphragm condenser works brilliantly for acoustic guitar. Budget options around £80 to £100 deliver excellent results.
- Cables and stands: XLR cables and a sturdy mic stand are non-negotiable basics.
- DI box: Useful for recording a clean, direct signal from electric or acoustic guitars. Read our DI box guide to understand when you need one.
For a broader look at what goes into a home studio setup, our guide to recording equipment essentials covers the full picture.
| Gear item | Budget option | Why it matters |
|---|---|---|
| Audio interface | Focusrite Scarlett Solo | Low latency, clean preamp |
| Microphone | Audio-Technica AT2020 | Detailed, flat response |
| DAW | Reaper (discounted licence) | Full-featured, affordable |
| DI box | Behringer DI100 | Clean direct signal |
| Mic stand | Any boom stand | Stable, flexible positioning |
Pro Tip: Before recording a single note, clap your hands sharply in the centre of your room and listen. If you hear a ringing, metallic decay, you have flutter echo. Hang a thick blanket on the wall opposite you and clap again. The difference will surprise you.
Recording acoustic guitar: Techniques for clarity and warmth
Once your space and kit are sorted, it’s time to focus on recording your acoustic guitar for optimum sound.
Microphone placement is the single biggest variable in acoustic recording. Point the mic at the soundhole and you’ll get a boomy, unbalanced result every time. Instead, position it 12 to 18 inches from the neck/body joint, roughly around the 12th to 14th fret area. This gives you a balanced blend of brightness from the strings and warmth from the body.
Here’s a simple process to follow:
- Set your interface gain so the signal peaks around minus 12dBFS. This leaves plenty of headroom.
- Position the mic at the 12th fret, about 30 to 45 centimetres away, angled slightly toward the body.
- Put on headphones and play a full strum. Listen for any harsh frequencies or muddiness.
- Move the mic a few centimetres toward the soundhole for more warmth, or toward the headstock for more brightness.
- Record a short test clip and listen back before committing to a full take.
For a richer sound, consider blending a microphone signal with a direct pickup signal. Recording pickup and mic separately lets you time-align them in your DAW later, typically by delaying the pickup signal by around one millisecond per foot of mic distance. This avoids the pickup dominating the mix and gives you a natural, full-bodied tone.
| Approach | Tone character | Best for |
|---|---|---|
| Single mic | Natural, room character | Singer/songwriters, folk |
| Stereo pair | Wide, immersive | Fingerpicking, classical |
| DI only | Tight, dry, controllable | Pop, production beds |
| Mic and DI blend | Full, flexible | Most styles |
For more on using a DI box setup effectively with acoustic guitars, our dedicated guide explains the signal chain in plain language.
Pro Tip: Walk around the room while someone else plays your guitar, or play it yourself and move your ear around the body. You’ll hear a spot where the guitar suddenly sounds fuller and more open. That’s your sweet spot. Put the mic there.
Recording electric guitar: Direct, amp sims and real amps
Acoustic sorted — now here’s how the electric guitar differs, and how you can achieve authentic tones at any volume.
You have three main routes for recording electric guitar at home:
- Direct into interface with amp simulation: Plug straight into the hi-Z input on your interface and use software like AmpliTube or Guitar Rig. Low latency monitoring is essential here so you can play in real time without a distracting delay.
- Mic’ing a real amp: Even a small practice amp can sound enormous when mic’d correctly. Use a Shure SM57 on the speaker cone for a bright, cutting tone, or move it toward the edge for a warmer result.
- Combination: Record a dry direct signal alongside your amp signal. This lets you reamp the dry track later through different amp sims or real amps.
Amp simulation has genuinely transformed home recording. Understanding why amp modellers matter helps you choose the right approach for your style and living situation. Our guide to amp modelling goes deeper into the technology if you want to compare options.
When mic’ing a real amp, phase becomes important the moment you use more than one microphone. Place a dynamic mic like the SM57 close to the cone, then add a condenser a metre back for room ambience. Multi-mic blending with a dynamic and condenser gives you enormous tonal flexibility in the mix, but always check phase by flipping one mic’s polarity and listening for the version that sounds fuller.
Pro Tip: When using amp sims, always monitor through headphones or studio monitors rather than consumer speakers. Consumer speakers flatter midrange frequencies and will mislead your tone decisions every time.
Advanced approaches: Multi-miking, singing guitarists and creative tricks
For those ready to push their recordings, explore these pro-level setups and tricks.
Multi-miking opens up a world of tonal options. The key principle is contrast: use two microphones with different characters, positions, or distances. Equidistant placement keeps phase coherent, while intentionally unequal distances create comb filtering that can add texture and depth if used carefully. Reamping is another powerful trick. Record a clean, dry direct signal, then feed it back through an amp or sim later when you have more time to dial in the perfect tone.
Singing guitarists face a unique challenge: keeping guitar and vocal signals separate while capturing both naturally.
- Position a single cardioid mic roughly halfway between your mouth and the guitar body, angled slightly toward whichever source needs more presence.
- If separation matters more, use a figure-8 mic for spill rejection, positioning the null points toward the source you want to reject.
- Use a portable vocal screen or reflection filter to reduce room sound bleeding into the guitar signal.
- Record a scratch vocal and guitar together for feel, then overdub a clean vocal separately for the final track.
The best recordings often come from embracing imperfection. A little vocal bleed into the guitar mic can actually make a performance feel more alive and connected.
For tone shaping without physical amps, impulse responses (IRs) are worth exploring. These are digital snapshots of real speaker cabinets and rooms. Load them into your DAW and you can run your guitar through the character of a vintage Fender cabinet or a British stack without owning either. Pair this with digital versus tube amp comparisons to understand which approach suits your sound.
Mixing, editing and finishing your guitar tracks
Great capture deserves a strong finish; let’s refine your recording into a polished, professional-sounding track.
Editing comes first. Trim the silence at the start and end of each take, apply short crossfades (around 5 to 10 milliseconds) at any edit points to avoid clicks, and time-align any multi-mic or blended tracks carefully.
For EQ and compression, a few principles cover most situations:
- Cut before you boost: Remove problem frequencies first. Cutting around 500Hz to 1kHz reduces muddiness, while a gentle boost around 4 to 6kHz adds presence and clarity.
- Compression for sustain: A ratio of 3:1 with a medium attack and fast release works well for rhythm guitar. Slower attack preserves the pick attack.
- Check mono compatibility: Collapse your mix to mono and listen. If the guitar disappears or sounds thin, you have a phase issue to address.
- Remove noise: Use a noise gate or manually edit out hum and handling noise between phrases.
For a broader look at the tools involved, our home mixing equipment guide covers monitors, headphones, and interfaces. When your guitar is finally sounding great, also review our guitar setup tips to ensure the instrument itself is performing at its best before your next session.
Pro Tip: Always record a dry, unprocessed signal alongside any effected signal. Even if you love the amp sim sound today, having the clean track means you can re-process everything later with better plugins or a completely different tone.
Why DIY guitar recording is more about space than expensive kit
There’s a persistent myth in home recording circles that the next microphone upgrade, the pricier interface, or the premium plugin bundle will finally make everything click. In our experience, that belief keeps people spending money instead of making music.
The honest reality is that cheap fixes like blankets outperform an untreated room with expensive microphones every single time. A £40 moving blanket draped over a clothes rail behind your recording position will do more for your sound than doubling your microphone budget.
What actually improves recordings is experimentation and attention. Moving a mic two centimetres changes the tone. Changing strings before a session adds brightness and sustain. Adjusting your playing position relative to the room shifts the balance of direct and reflected sound. None of that costs anything.
We’d encourage you to spend one hour experimenting with mic positions before you spend another pound on choosing the right gear. The results will change how you think about recording entirely. Budget setups, used thoughtfully, regularly produce recordings that surprise even experienced engineers.
Ready to upgrade your home recordings?
Now you know the process, here’s where to turn for expert help or the right kit upgrade.
At MusicStreet, we understand that great recordings start with a great instrument and the right supporting gear. Whether you’re after a new acoustic that records beautifully, an electric that takes to amp sims like a dream, or advice on accessories and interfaces, our team is here to help.

Visit MusicStreet to browse our full range of guitars and accessories, with expert guidance available online or in our Huntingdon store. We offer free UK delivery on qualifying orders, professional instrument setup, and ongoing support so your home recording journey starts on the right foot.
Frequently asked questions
What is the easiest way to record guitar at home?
Using a USB audio interface connected to a DAW with amp simulation plugins is the simplest, most neighbour-friendly setup for beginners. It requires minimal gear and no microphone.
Do I need an expensive microphone to record well at home?
No. A budget condenser microphone combined with good room treatment can deliver genuinely professional results. Focus on your room and technique before upgrading your mic.
How should I set up microphones for acoustic guitar?
Place the mic 12 to 18 inches from the neck and body joint, around the 12th fret, and angle it slightly toward the body. Avoid pointing it directly at the soundhole.
Can I record and sing at the same time at home?
Yes. A single cardioid mic in a balanced position works well, or use a figure-8 pattern for rejection of unwanted spill. A well-treated room makes a significant difference to the result.
What’s a common mistake when mixing guitar tracks at home?
Skipping EQ cuts is the most common error. Cutting around 500Hz to 1kHz removes muddiness, while a boost at 4 to 6kHz restores presence. Neglecting this leaves recordings sounding dull and cluttered.
Recommended
- Studio Recording Equipment Essentials – MusicStreet
- Custom Guitar Build Guide: Achieve Your Dream Instrument – MusicStreet
- Complete Guide to Professional Guitar Setups | Expert Tips – MusicStreet
- Step-by-Step Guide to Guitar Investment for Musicians – MusicStreet
- Abbey Road Meditation Tracks License: The Creator’s Guide To World-Class Audio - Orchestral Meditations


Share:
Best Acoustic Guitar 2026 UK - Top Brands & Prices
buy les paul guitar under £500