

- Turning down your guitar’s volume can cause treble loss due to electronic resistance.
- A treble bleed circuit preserves brightness by bypassing high frequencies at lower volumes.
- Installing a treble bleed is quick, affordable, and enhances tonal control and expressiveness.
Rolling back your volume knob should give you control. Instead, for many guitarists, it turns a bright, articulate tone into something flat and lifeless. The high-end clarity vanishes, the pick attack softens, and suddenly your guitar sounds like it’s been wrapped in a blanket. This is one of the most common frustrations in electric guitar playing, and most players assume it’s simply how things are. It isn’t. A treble bleed circuit is a small, affordable modification that solves this problem directly. This article explains why the issue happens, what a treble bleed actually does, and how to decide whether it’s right for your guitar.
Table of Contents
- Why do guitars lose clarity when turning down the volume?
- What is a treble bleed and how does it work?
- Different treble bleed circuits: types and tonal impacts
- Is installing a treble bleed right for your guitar?
- How to install a treble bleed mod (step-by-step)
- Why the little things in electronics make the biggest difference
- Take your sound further with MusicStreet
- Frequently asked questions
Key Takeaways
| Point | Details |
|---|---|
| Solves clarity loss | A treble bleed circuit maintains your guitar’s brightness as you lower the volume. |
| Simple, reversible mod | Installing a treble bleed takes under 15 minutes and can be easily removed if needed. |
| Suitability varies | Not every guitar or playing style benefits from a treble bleed, so assess your tone needs first. |
| Choose the right type | Selecting the correct treble bleed circuit depends on your electronics and tonal preference. |
Why do guitars lose clarity when turning down the volume?
The volume knob on your electric guitar is not just a simple switch. It’s a potentiometer (commonly called a pot), a variable resistor that controls how much of your pickup’s signal reaches the output jack. As you turn it down, resistance increases and the signal level drops. That part makes sense. But the problem runs deeper than just volume.
Electric guitar circuits behave differently at different frequencies. High frequencies, the bright, crisp elements of your tone, are more susceptible to being lost as the resistance in the circuit changes. When you reduce the volume, those high frequencies bleed away faster than the lower ones, leaving you with a sound that feels dull and muffled. This is not a fault in your guitar. It’s a natural consequence of how passive electronics work.
Several factors make this worse:
- Capacitance in the cable: Long guitar leads add capacitance to the circuit, which further rolls off the treble.
- Pot value: A 250k pot (common in Fender-style guitars) behaves differently to a 500k pot (common in Gibson-style guitars). Lower resistance values tend to darken the tone more aggressively.
- Tone capacitor values: The capacitor wired to your tone control can interact with the volume pot and affect how frequencies respond at lower settings.
- Wiring quality: Cheap or poorly routed wiring can introduce unwanted capacitance.
“Rolling your volume back to 7 should feel like a subtle reduction in level, not a transformation into a completely different instrument.”
This is why guitar electronics and tone matter so much. Upgrading electronics can help retain clarity at lower volumes, and understanding the cause is the first step. For a broader technical overview, the treble bleed overview from Stay Tuned Guitar is a useful starting point.
What is a treble bleed and how does it work?
A treble bleed circuit is a tiny modification added to your guitar’s volume pot. In plain terms, it creates a small bypass path that allows high frequencies to pass through even when the volume is turned down. The result is that your tone retains its brightness and clarity across the full sweep of the volume knob.
The circuit typically consists of a capacitor, sometimes paired with a resistor. The capacitor is the key component. Capacitors naturally allow high-frequency signals to pass through more easily than low-frequency ones. By soldering a small capacitor across the input and output lugs of your volume pot, you give the treble frequencies an alternative route around the increasing resistance. As you turn down the volume, the lows and mids reduce as expected, but the highs are preserved.
Think of it like a bypass lane on a motorway. When traffic (your signal) slows down due to congestion (the increasing resistance), a small side lane (the capacitor) keeps the faster vehicles (high frequencies) moving at speed.
Adding a resistor in parallel with the capacitor helps control how much treble passes through, preventing the sound from becoming thin or shrill at lower volumes. This combination is often considered the most musical option. A treble bleed explanation confirms that a treble bleed mod involves adding a capacitor (sometimes with a resistor) across volume pot lugs to preserve high-end frequencies as the volume decreases.
Here’s how the experience compares:
| Feature | Without treble bleed | With treble bleed |
|---|---|---|
| Tone at full volume | Bright and clear | Bright and clear |
| Tone at 7/10 volume | Noticeably duller | Remains clear and articulate |
| Tone at 5/10 volume | Muffled, lacks definition | Balanced, usable tone |
| Volume sweep feel | Uneven, drops off quickly | Smooth and consistent |
| Application | Stock setup | Upgraded for tonal control |
Pro Tip: If you’re considering guitar pot upgrades, installing a treble bleed at the same time is a smart move. You’re already inside the cavity, so the extra five minutes is well worth it. Understanding the electric guitar parts involved will also help you make more confident decisions.
Different treble bleed circuits: types and tonal impacts
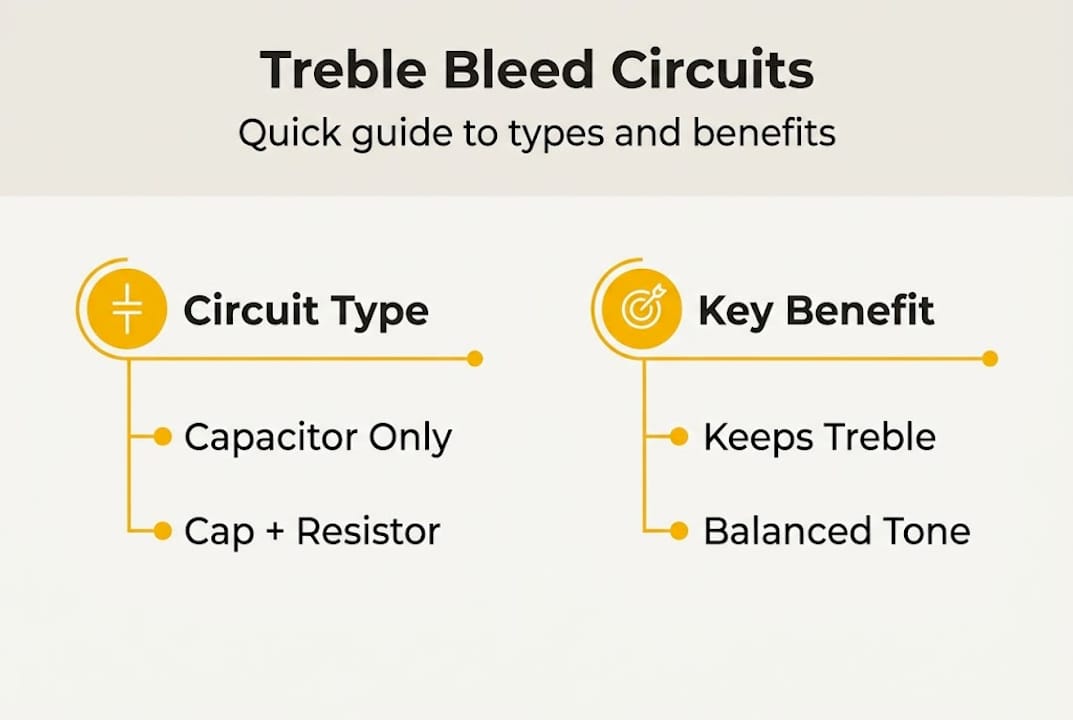
Not all treble bleed circuits are identical. The components you choose, and how you wire them, directly affect how your guitar sounds and responds. There are three main variants worth knowing.
| Circuit type | Typical values | Pros | Cons |
|---|---|---|---|
| Capacitor only | 1000pF ceramic cap | Simple, inexpensive, easy to install | Can sound thin or bright at lower volumes |
| Cap + parallel resistor | 1000pF cap, 150k resistor | Smoother taper, more balanced tone | Slightly more complex wiring |
| Cap + series resistor | 1000pF cap, 100k resistor | Controls treble bleed amount more precisely | Can reduce the effect if value is too high |
The installation guide confirms that various treble bleed circuits are available and installation is quick with only a soldering iron required.
Choosing the right circuit comes down to a few practical steps:
- Identify your pickup type. Single-coil pickups (like those in a Stratocaster) tend to benefit from a cap and parallel resistor combo. Humbuckers can sometimes sound too bright with a plain capacitor.
- Consider your pot value. A 500k pot already passes more treble than a 250k, so a smaller capacitor value may be more appropriate.
- Think about your playing style. If you frequently use the volume knob as an expression tool, a smoother taper from the cap and resistor network will serve you better.
- Start conservatively. A 1000pF capacitor is a good starting point. You can always experiment with slightly larger values (1200pF, 1500pF) if you want more treble preserved.
- Test before committing. Some players temporarily clip the components in place before soldering to audition the effect.
Exploring pot wiring upgrades alongside this mod gives you a fuller picture of how your electronics interact. You might also find useful recommendations in our guide to best guitar accessories for sourcing quality components.
Is installing a treble bleed right for your guitar?
A treble bleed is not a universal fix, and it’s worth thinking carefully before you pick up a soldering iron. The good news is that the mod is low-risk and reversible, so the stakes are low.
Signs you’d benefit from a treble bleed:
- Your tone becomes noticeably dull when you roll the volume below 8.
- You find yourself leaving the volume at 10 because any lower sounds unusable.
- You play clean or lightly overdriven tones where nuance and clarity matter.
- You use your volume knob to manage dynamics during a performance.
Key benefits:
- Retains treble and pick attack across the full volume sweep.
- Makes the volume knob a genuinely expressive tool rather than an on/off switch.
- Improves the overall feel of the instrument without altering its core character.
Potential downsides:
- A plain capacitor (without resistor) can make the guitar sound thin or harsh at lower volumes.
- Guitars with already bright pickups may become uncomfortably shrill.
- Active electronics (found in some bass guitars and high-output guitars) do not benefit from this mod in the same way.
The easy install mod is described as a 10 to 15 minute modification that can make a real tonal difference. Before proceeding, check whether your guitar is under warranty, as opening the electronics cavity could affect coverage. It’s also worth reading up on choosing accessories for tone and considering whether upgrading your electric guitar more broadly might be the better route.
Pro Tip: If you’re unsure about soldering, take the guitar to a local tech. The parts cost under £5 and the labour is minimal. It’s one of the most cost-effective tone improvements available.
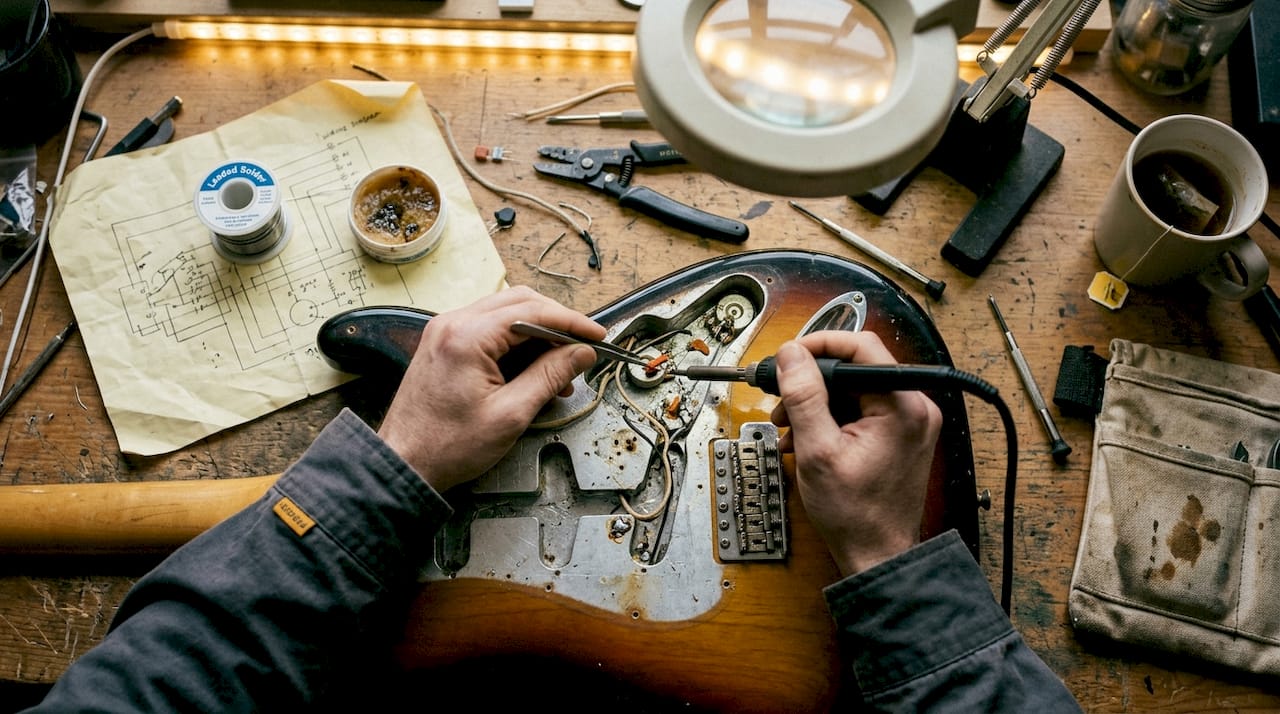
How to install a treble bleed mod (step-by-step)
Installing a treble bleed is genuinely one of the simpler guitar mods available. A treble bleed is easy to install with basic tools in 10 to 15 minutes. Here’s what you need and how to do it.
Tools and materials:
- Soldering iron (25 to 40 watt)
- Solder (60/40 rosin core recommended)
- Capacitor (1000pF ceramic or film type)
- Resistor (150k, optional but recommended)
- Screwdriver for backplate removal
- Multimeter (optional, for testing)
Installation steps:
- Remove the backplate or pickguard to access the electronics cavity. Take a photo first so you have a reference for reassembly.
- Locate the volume pot. Identify the input lug (where the pickup wire connects) and the output lug (where the signal exits to the jack or tone control).
- Prepare your components. If using a cap and resistor in parallel, solder them together first to create a single unit.
- Solder across the lugs. Connect one leg of the capacitor (or cap/resistor unit) to the input lug and the other leg to the output lug. Keep the solder joints clean and avoid bridging any adjacent contacts.
- Reassemble the guitar and plug in. Test the volume sweep from 10 down to 1 and listen for improved clarity retention.
- Fine-tune if needed. If the result sounds too bright, try a smaller capacitor value. If there’s little difference, try a slightly larger one.
For sourcing components and guidance, our essential guitar accessories guide covers useful options. The guitar hardware guide is also worth a read if you want to understand the broader context of what you’re working with. For a detailed visual walkthrough, the installation walk-through at Stay Tuned Guitar is excellent.
Pro Tip: Tin your iron and the component legs before soldering. It makes the joint cleaner, faster, and far less likely to cause heat damage to the pot.
Why the little things in electronics make the biggest difference
There’s a tendency in guitar culture to chase tone through expensive purchases: a new guitar, a boutique amplifier, a premium pedal board. These things matter, of course. But some of the most transformative changes we’ve seen come from modifications that cost less than a cup of coffee.
A treble bleed is a perfect example. It costs almost nothing, takes minutes to install, and fundamentally changes how expressive and usable a guitar feels in your hands. The volume knob goes from being an afterthought to a genuine performance tool.
Understanding electronics and tone shaping gives you a real advantage as a player. It shifts your relationship with your instrument from passive to active. You stop accepting limitations and start making informed choices. The same logic applies to upgrading pickups, swapping pots, or experimenting with capacitor values on your tone control. Small changes, properly understood, deliver outsized results.
Take your sound further with MusicStreet
If this article has sparked your curiosity about what your guitar is truly capable of, you’re in the right place. At MusicStreet, we stock a wide range of guitars, accessories, and components suited to players at every level, from those making their first modification to experienced players fine-tuning a beloved instrument.

Our team in Huntingdon, Cambridgeshire understands that tone is personal. Whether you need advice on sourcing the right components for a treble bleed mod, want to explore a full electronics upgrade, or are simply looking for your next great guitar, we’re here to help. Browse our range online or visit us in store for hands-on guidance from people who genuinely love guitars.
Frequently asked questions
Will a treble bleed mod work on every guitar?
A treble bleed circuit is effective for most guitars with passive electronics, but its impact varies depending on pickup and pot types. The mod is installed across volume pot lugs and suits most passive setups.
Does treble bleed affect tone at full volume?
Most treble bleed circuits are nearly inaudible at full volume, leaving your guitar’s natural tone untouched. As confirmed by guitar electronics guides, treble bleed circuits preserve high end only when the volume is reduced.
Can I undo a treble bleed mod if I don’t like it?
Yes, a treble bleed is fully reversible. Simply desolder the components to restore your original wiring. The mod uses basic soldering and is easily removed without any lasting changes to the instrument.
Does a treble bleed circuit require special tools or skills?
Only basic soldering tools are needed, and most guitarists can learn the process from online tutorials. Installation is simple for anyone comfortable with a soldering iron, and a local guitar tech can do it for a modest fee if you prefer.


Share:
Duesenberg vs Gibson: Which Premium Guitar is Right for You?
Guitar upgrades: 5 essential changes for better sound