


Reverb is defined as the persistence of sound caused by multiple reflections arriving at a listener’s ear after the original signal has stopped. Understanding what reverb does in music is fundamental to every mixing decision you make. It creates the illusion of physical space, adds emotional depth, and glues individual tracks into a cohesive whole. Without reverb, even the most carefully recorded instruments sound flat and lifeless, as though they exist in a vacuum rather than a real acoustic environment.
What does reverb do in music: acoustic principles and key parameters
Reverb works by simulating the behaviour of sound waves bouncing off surfaces in a physical space. When a sound occurs in a room, the direct signal reaches your ears first. Early reflections arrive within the first 50 milliseconds, and reflections within 50 ms blend perceptually as a single sound rather than distinct echoes. This is the psychoacoustic foundation that artificial reverb exploits.
The standard measure of reverb decay is RT60, which describes the time taken for a sound to fall by 60 dB after the source stops. The formula is RT60 = 0.161 × V / A, where V is room volume and A is total absorption. A cathedral might have an RT60 of 6–8 seconds, while a treated studio room sits closer to 0.3–0.5 seconds. Understanding RT60 tells you immediately how large or intimate a reverb will feel.
Several parameters shape the character of any reverb unit or plugin:
| Parameter | What it controls | Perceptual effect |
|---|---|---|
| Pre-delay | Gap between dry signal and reverb onset | Preserves transient clarity and separation |
| Decay time (RT60) | Length of the reverb tail | Perceived room size and spaciousness |
| Diffusion | Density of early reflections | Smooth vs. grainy texture |
| Wet/dry ratio | Balance of reverb to original signal | Depth and distance of the source |
| Damping | High-frequency roll-off in the tail | Warmth and material character of the space |
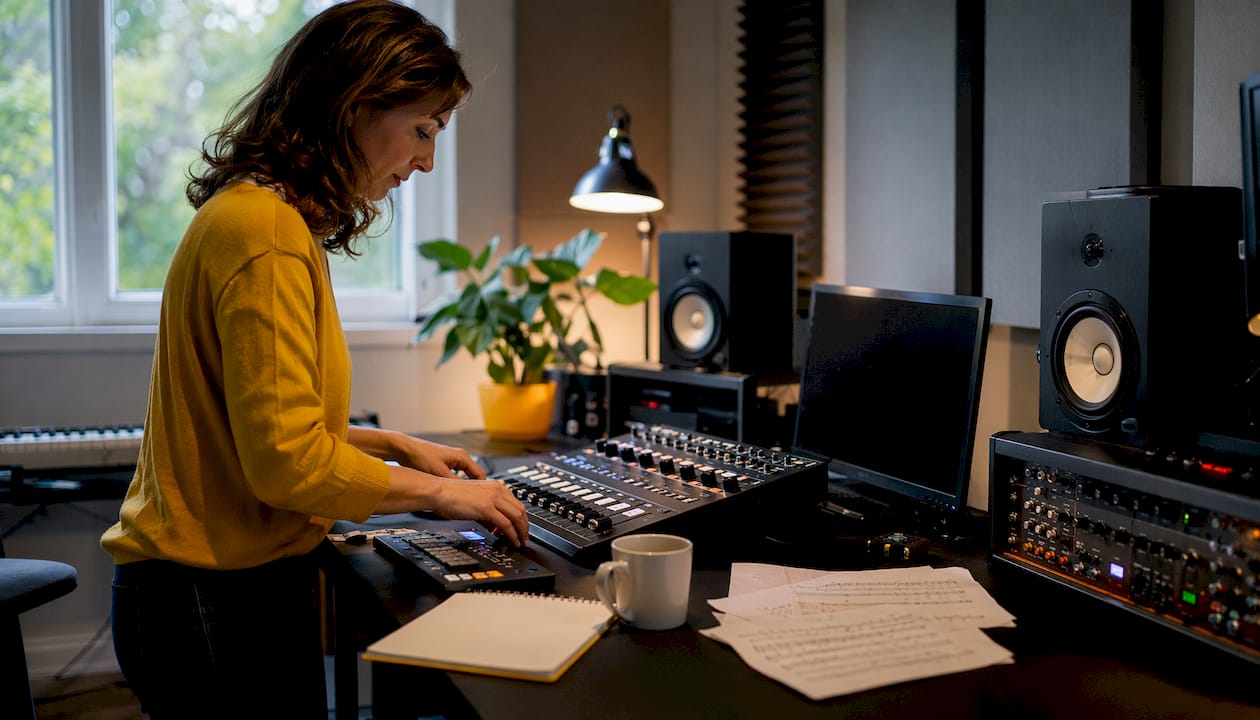
Pre-delay is particularly powerful. A pre-delay of 20–30 ms separates the dry signal from the reverb tail, keeping vocals and snares clear even inside a large reverb space. Without pre-delay, the reverb smears the attack of the sound and pushes it back in the mix.
Pro Tip: Set your pre-delay in milliseconds to match the tempo of your track. Divide 60,000 by the BPM to get the length of one beat in milliseconds, then use a fraction of that value as your pre-delay.
What types of reverb are there in music?
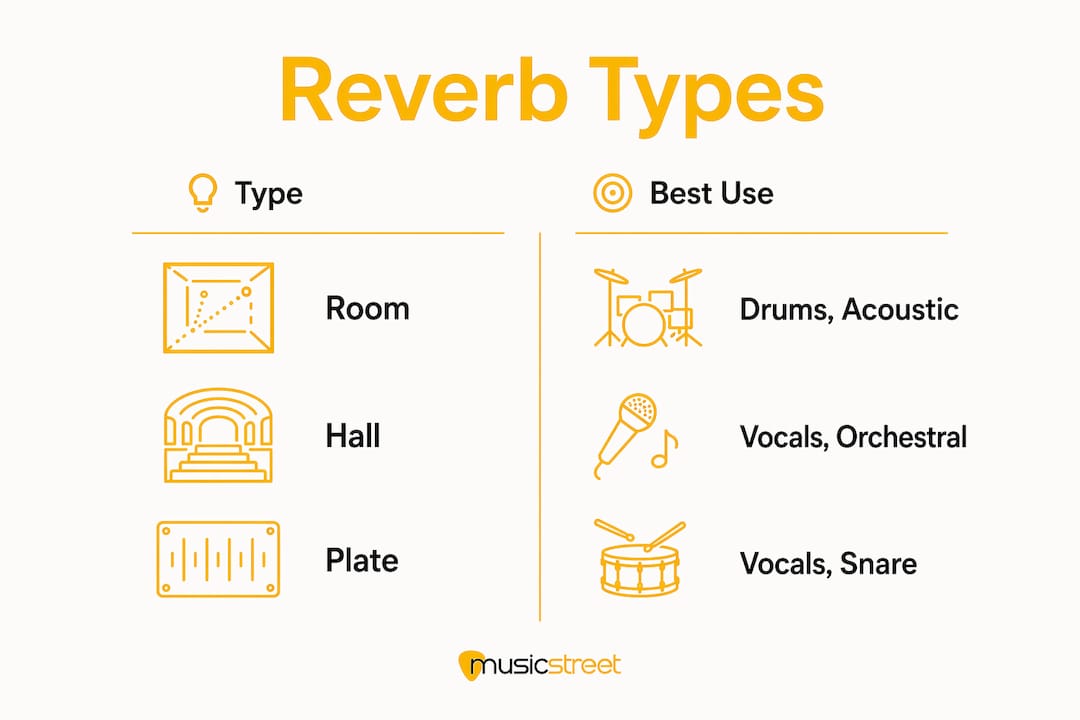
Different reverb types produce distinctive acoustic characters, and choosing the right one is as important as setting the parameters correctly. Here is a breakdown of the five most common types:
- Room reverb sounds natural and transparent. It mimics a small to medium physical space and works well on drums, acoustic guitars, and any source that needs subtle placement without obvious effect.
- Hall reverb produces long, lush tails with a smooth decay. Orchestral strings, choir vocals, and pads benefit most from hall reverb because the extended tail adds grandeur.
- Plate reverb is bright, dense, and slightly coloured. Originally created by suspending a large metal plate and attaching transducers to it, plate reverb became the standard for lead vocals and snare drums in classic recordings from the 1960s onwards.
- Spring reverb has a metallic, boingy character that is immediately recognisable. It is the sound built into vintage guitar amplifiers and surf rock recordings. On electric guitar, spring reverb adds personality rather than pure space.
- Convolution reverb uses impulse responses captured from real spaces. It is the most accurate type for recreating specific environments, from a stone church to a tiled bathroom.
| Reverb type | Character | Best used on |
|---|---|---|
| Room | Natural, short, transparent | Drums, acoustic guitar |
| Hall | Long, smooth, lush | Strings, pads, choir vocals |
| Plate | Bright, dense, coloured | Lead vocals, snare |
| Spring | Metallic, boingy | Electric guitar, lo-fi sounds |
| Convolution | Accurate, space-specific | Any source needing realism |
The reverb purpose in audio production is not purely aesthetic. Each type carries a sonic signature that communicates genre, era, and emotional register to the listener before a single lyric is processed consciously.
How to use reverb effectively in mixing
Routing is the first decision to get right. Send/return routing allows a single reverb instance to process multiple tracks simultaneously, creating a shared acoustic space that unifies the mix. Inserting reverb directly on individual tracks produces isolated, disconnected spaces that fight each other. Use aux sends as your default workflow.
Once routing is sorted, follow these steps to apply reverb cleanly:
- Set the pre-delay first. Use 20–30 ms on vocals and snares before touching any other parameter. This single step prevents the most common beginner mistake: reverb that swallows the attack of the source.
- Dial in decay time relative to tempo. A decay that extends past the next beat creates tail build-up and muddiness. Match the RT60 to the rhythmic feel of the track, shorter for uptempo songs, longer for slow ballads.
- EQ the reverb tail. Cut frequencies below 200–300 Hz on the reverb return channel using a high-pass filter. Low-end reverb energy accumulates quickly and clouds the mix without adding perceived space.
- Add a high-pass filter on the reverb send. Filter the signal going into the reverb as well, so bass frequencies never enter the unit in the first place.
- Keep the wet level lower than you think. Most producers new to mixing set reverb too wet. The reverb should support the dry signal, not compete with it.
- Automate the send level. Automating reverb sends through a song adds dynamic depth and prevents the mix from becoming cluttered during busy sections.
Pro Tip: Mute your reverb return channel and listen to the mix. Then unmute it. If you notice the reverb immediately, it is probably too loud. The best reverb is only noticed when it disappears.
Common mistakes to avoid:
- Using too many different reverb instances, which creates competing acoustic spaces
- Applying reverb to the kick drum without careful EQ, which destroys low-end definition
- Ignoring diffusion settings, which leaves reverb sounding grainy on sustained sources like pads
- Setting decay time without reference to the track tempo
How does reverb shape the emotional impact of music?
Reverb is a spatial tool first and an effect second. The length of the reverb tail communicates intimacy or grandeur to the listener at a subconscious level. A dry, close vocal with minimal reverb feels confessional and personal. The same vocal with a long hall reverb suddenly sounds cinematic and distant.
This means reverb decisions are arrangement decisions. Reverb choices influence emotional engagement and listener perception in ways that equalisation and compression cannot replicate. A producer who treats reverb as an afterthought is leaving one of the most powerful mix tools unused.
Here are the most effective creative applications:
- Use reverb tails as arrangement elements. Let a long reverb tail from a snare fill the space between phrases instead of adding another instrument. The tail becomes part of the rhythm.
- Contrast dry and wet elements. Placing a dry, close lead vocal over a heavily reverberant pad creates immediate three-dimensional depth without adding complexity.
- Change reverb type between sections. Switching from a tight room reverb in the verse to a large hall in the chorus is one of the most reliable ways to signal a lift in energy.
- Use short reverb on rhythmic elements. A room reverb with a 0.4-second decay on a snare adds body without blurring the groove.
- Automate reverb to build tension. Increasing the reverb send level going into a breakdown creates a sense of expanding space that pulls the listener forward.
Reverb defines spatial depth and emotional atmosphere in professional production. The producers who use it most effectively treat it as a compositional tool rather than a finishing touch.
Key takeaways
Reverb is the single most powerful spatial tool in music production, and using it with intention separates professional mixes from amateur ones.
| Point | Details |
|---|---|
| Pre-delay preserves clarity | Set 20–30 ms pre-delay on vocals and snares to keep attacks clean inside large reverb spaces. |
| EQ the reverb return | High-pass filter the reverb tail below 200–300 Hz to prevent low-end muddiness. |
| Use send/return routing | Route multiple tracks to one shared reverb to create a unified acoustic space. |
| Match decay to tempo | Keep RT60 short enough that the tail resolves before the next beat in uptempo tracks. |
| Reverb is an arrangement tool | Changing reverb type between song sections signals energy shifts as effectively as adding instruments. |
Why subtlety is the hardest reverb skill to learn
The most common mistake I see from producers at every level is using reverb as decoration rather than architecture. When you add reverb because a track “sounds dry,” you are reacting. When you add reverb because you want the listener to feel they are standing in a specific space, you are producing.
The shared reverb bus approach changed how I work entirely. Sending drums, vocals, and guitars to the same hall reverb, even at different send levels, creates a sense that all those elements exist in the same room. That cohesion is what separates a mix that sounds like separate recordings from one that sounds like a performance. It is a simple routing decision with a profound result.
Automation is the other skill most producers ignore for too long. Automating reverb send levels dynamically adjusts the spatial feel of a mix as the song progresses. Pull the reverb back during dense, busy sections to keep clarity. Open it up during breakdowns and bridges to create emotional release. The mix breathes rather than sitting static.
My honest advice: spend a session doing nothing but muting and unmuting your reverb returns. Listen to what each one actually contributes. You will almost certainly find that half of them are doing nothing useful, and two or three are doing all the heavy lifting. Simplify from there. The effects of reverb in music are most powerful when they are applied with restraint and purpose.
— Music
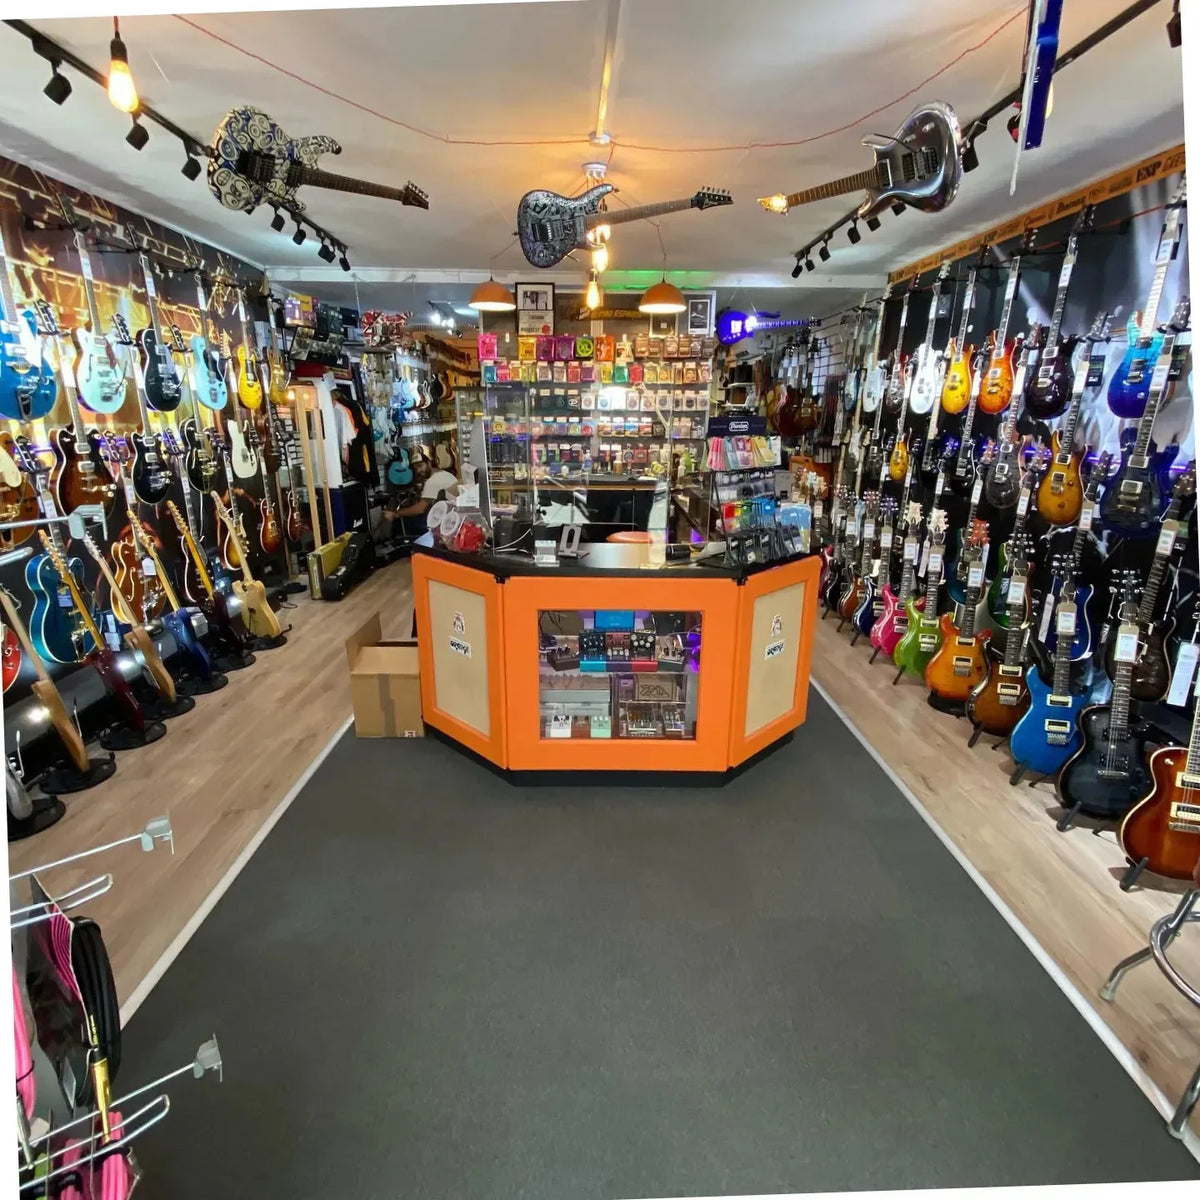
Guitars that inspire creative production at Musicstreet
Great production starts with great instruments. The tone and character of your guitar shape every mixing decision you make afterwards, including how you apply reverb to bring that sound to life.

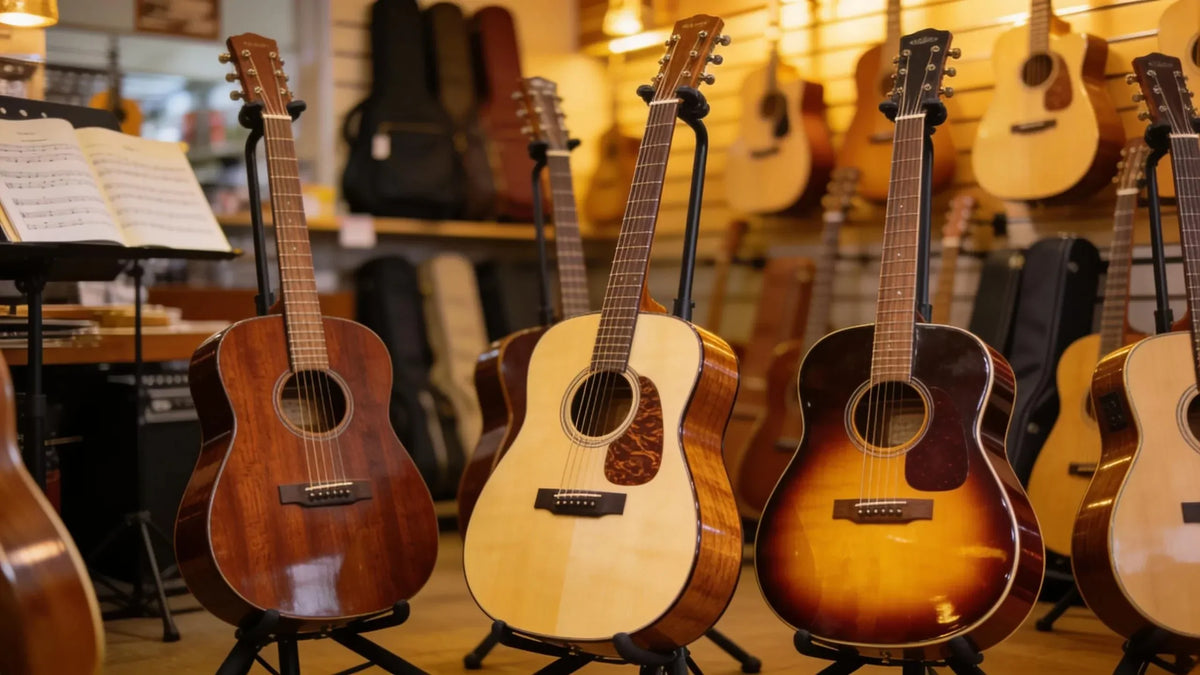
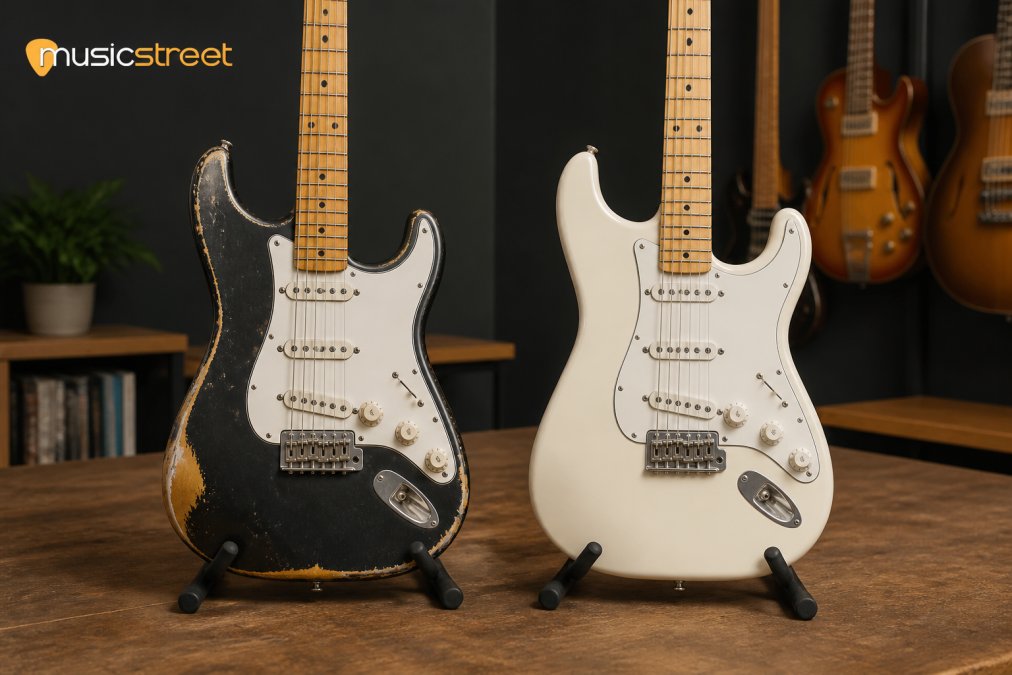
Musicstreet stocks a carefully selected range of electric, acoustic, and bass guitars suited to producers and players at every level. The Yamaha FGC-TA TransAcoustic is particularly relevant here: it features built-in reverb and chorus effects that resonate through the guitar body itself, letting you hear spatial effects acoustically before you ever open a DAW. For players who want a versatile electric with character, the used Suhr Classic Antique Pro is a boutique-quality instrument available at Musicstreet with full expert setup included. Free UK delivery is available on qualifying orders.
FAQ
What does reverb do to a vocal in a mix?
Reverb adds space and distance to a vocal, placing it within a perceived acoustic environment. A short room reverb with pre-delay keeps the vocal present and clear, while a longer hall reverb pushes it back and adds grandeur.
How does reverb work differently from delay?
Reverb simulates multiple reflections arriving closely together to create a sense of space, while delay produces distinct, timed repetitions of the original signal. Reverb blurs into a tail; delay retains the shape of the original sound.
What is RT60 and why does it matter?
RT60 is the time taken for a sound to decay by 60 dB after the source stops. It defines the perceived size of a reverb space and is the primary parameter for matching reverb character to the acoustic feel of a track.
Should reverb be on an insert or a send channel?
Send/return routing is the professional standard. It allows multiple tracks to share one reverb, creating a unified acoustic space and using less processing power than inserting reverb on every individual channel.
How do I stop reverb making my mix sound muddy?
Apply a high-pass filter to the reverb return channel, cutting frequencies below 200–300 Hz. Also set a pre-delay of 20–30 ms and keep the decay time short enough that the tail resolves before the next rhythmic beat.



Share:
How to play a 12-string guitar: a beginner's guide
Guitar string names explained: your complete guide